Creating a manual shipment
To create manual dispatches you must go to the general menu Shipments and then to the section Manual.
Multiple shipping addresses
For customers with more than one shipping address pre-loaded in the system, the first step is to select the pick-up address by selecting the desired shipping location.
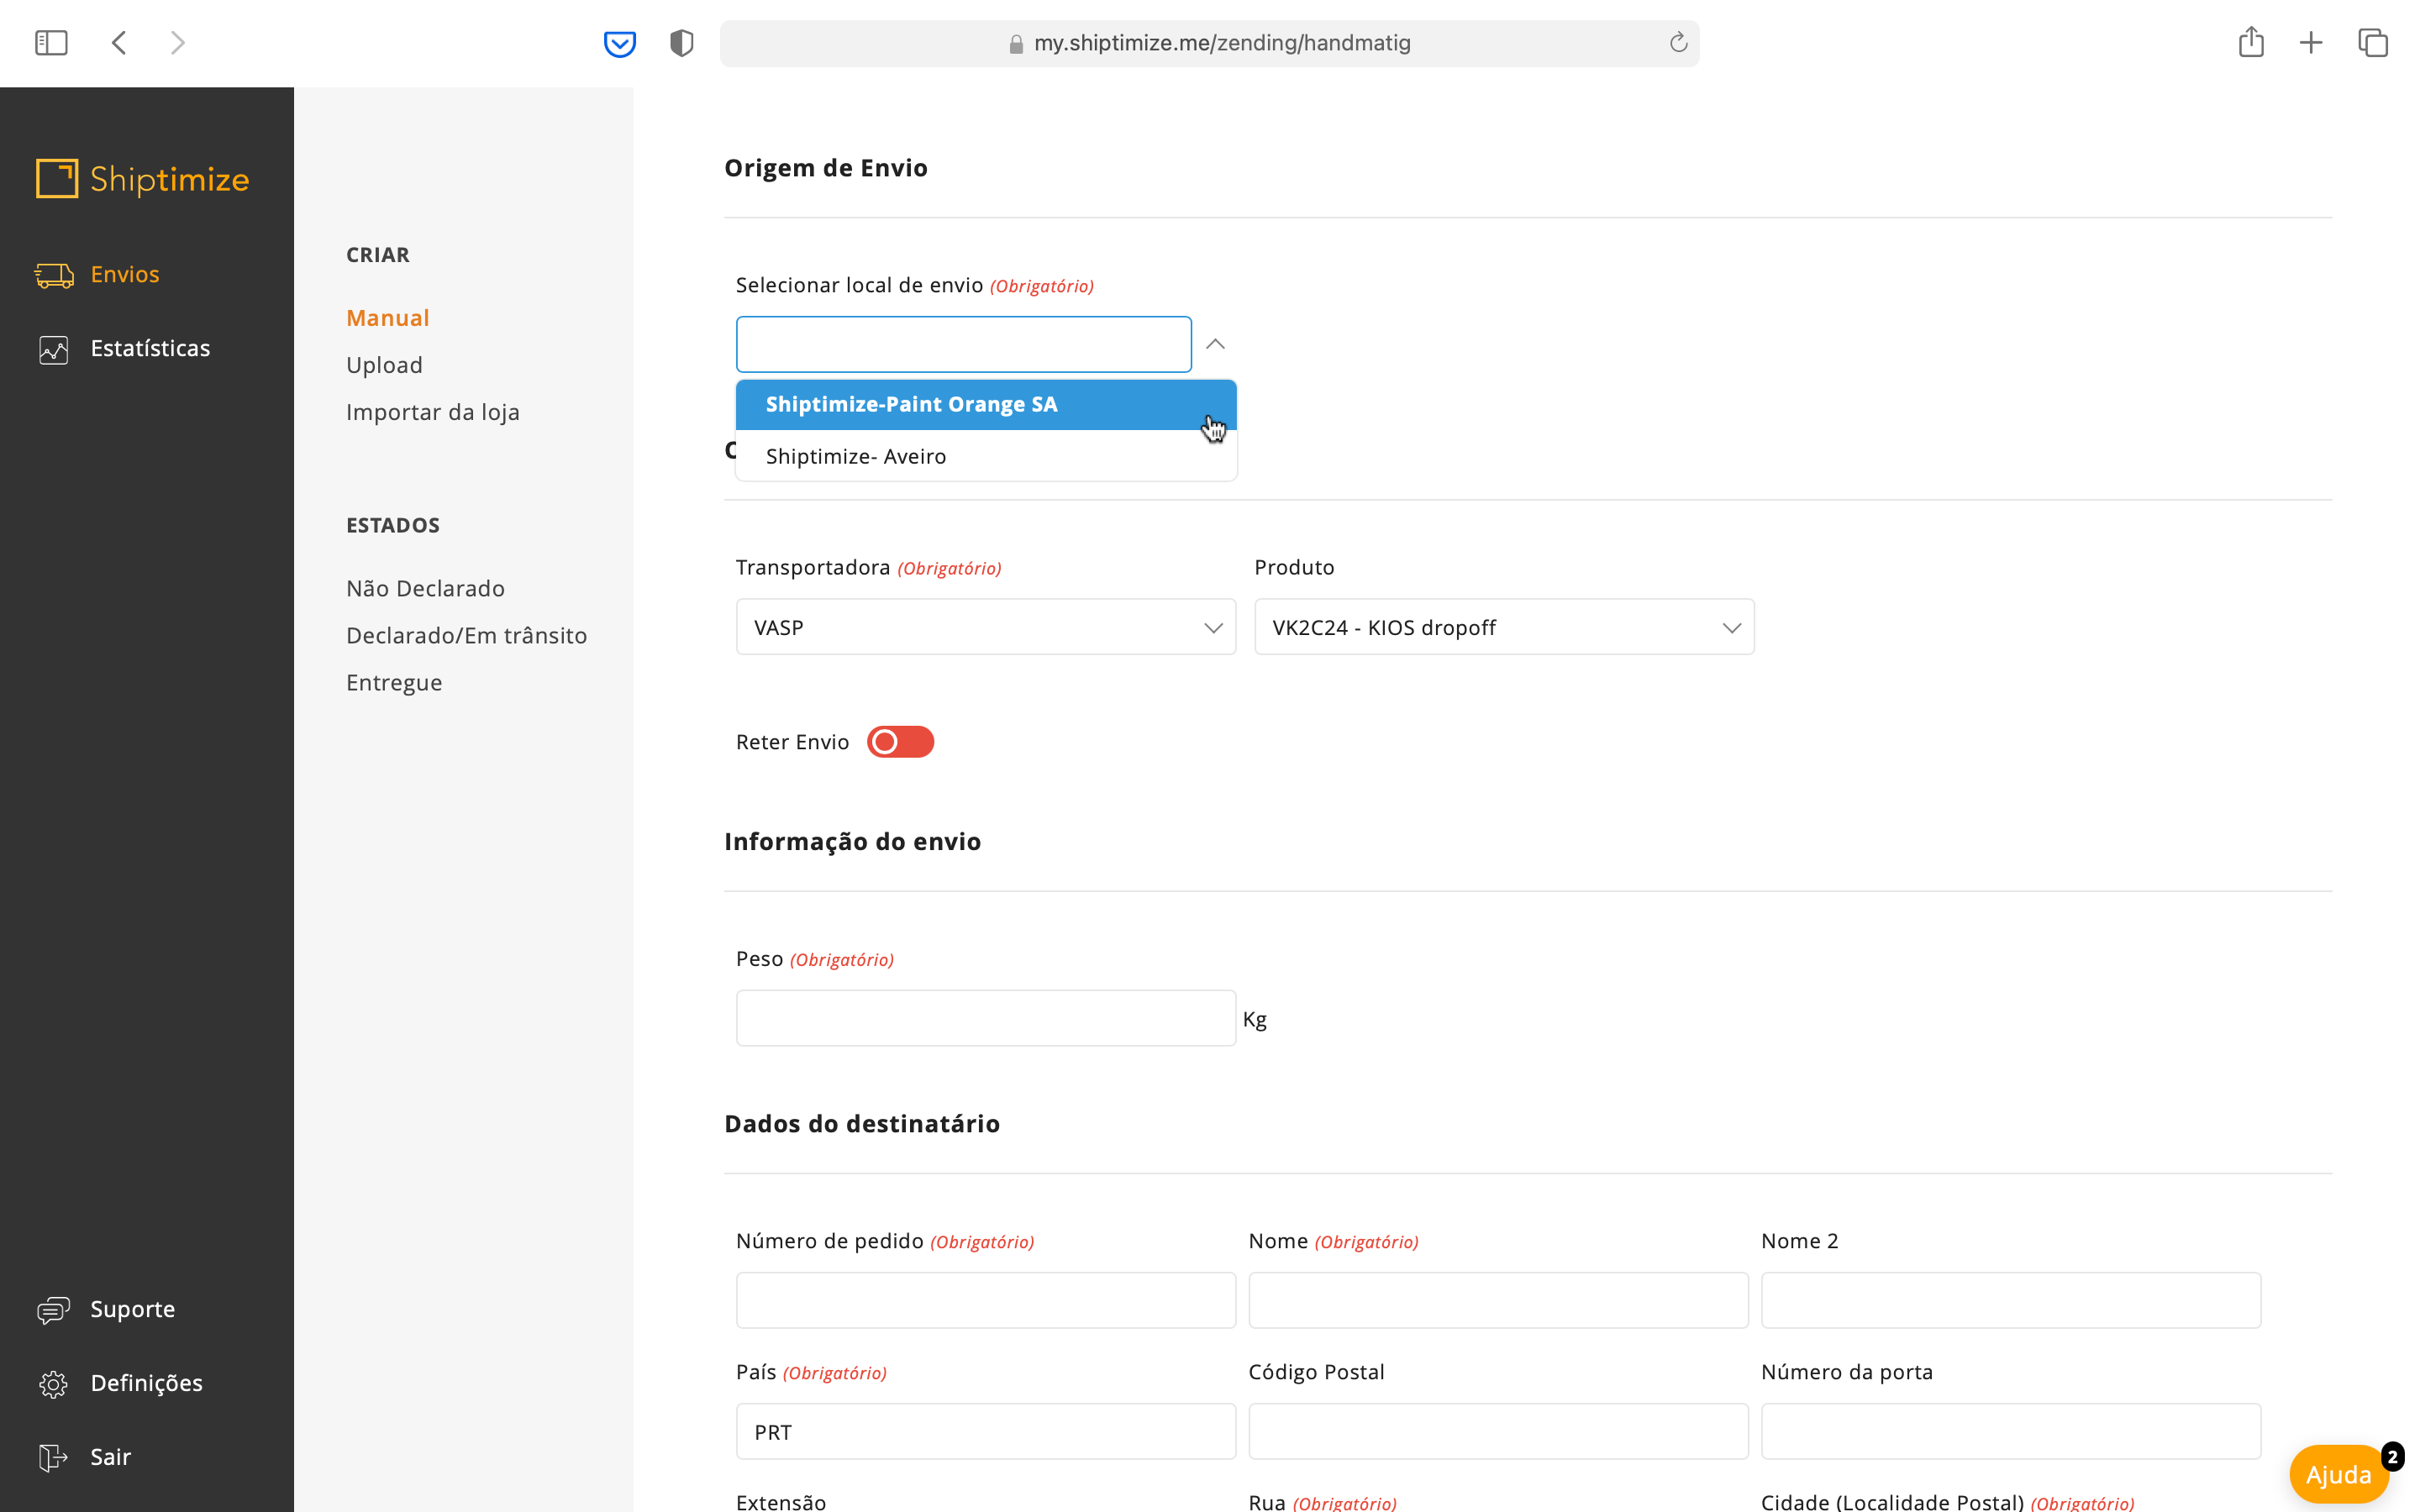
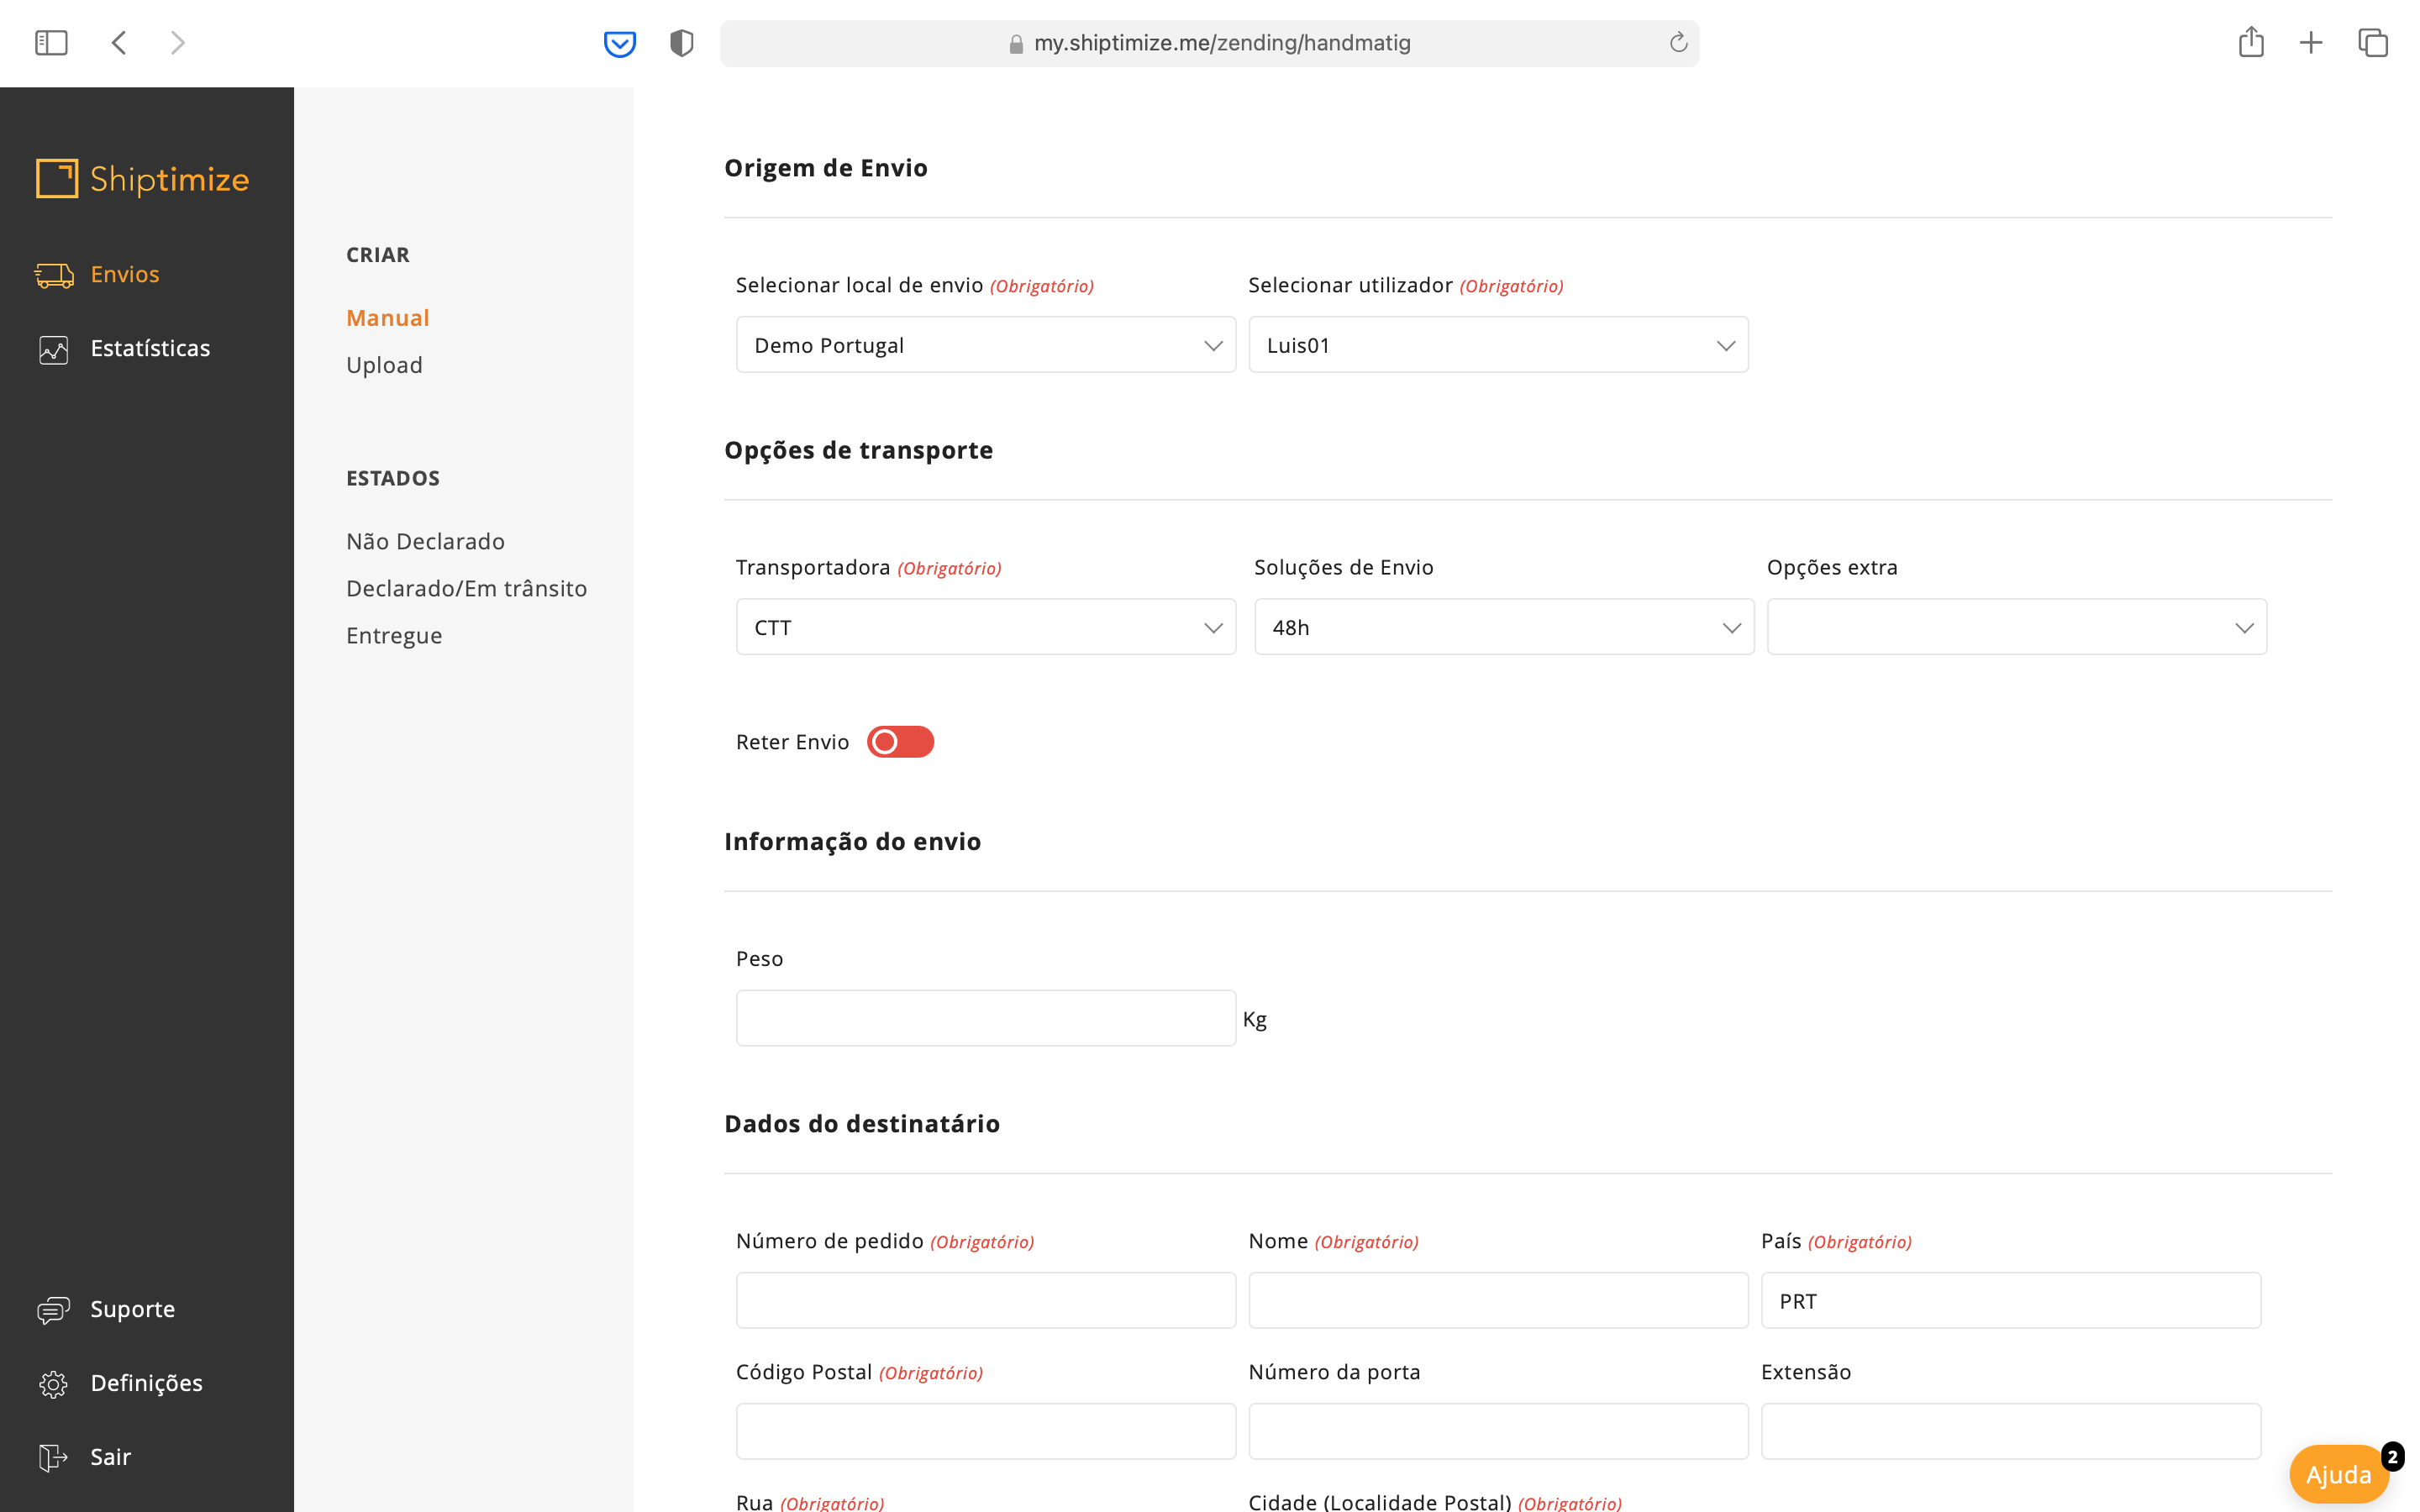
Select Carrier and service level (shipping solution)
When creating a dispatch, the first selection to make is which carrier and service you will use. To do this you must select the carrier from those available in the carrier menu (in this example we have selected CTT). And the level of service by selecting one of the shipping solutions present in the menu (in this example we select 48h)
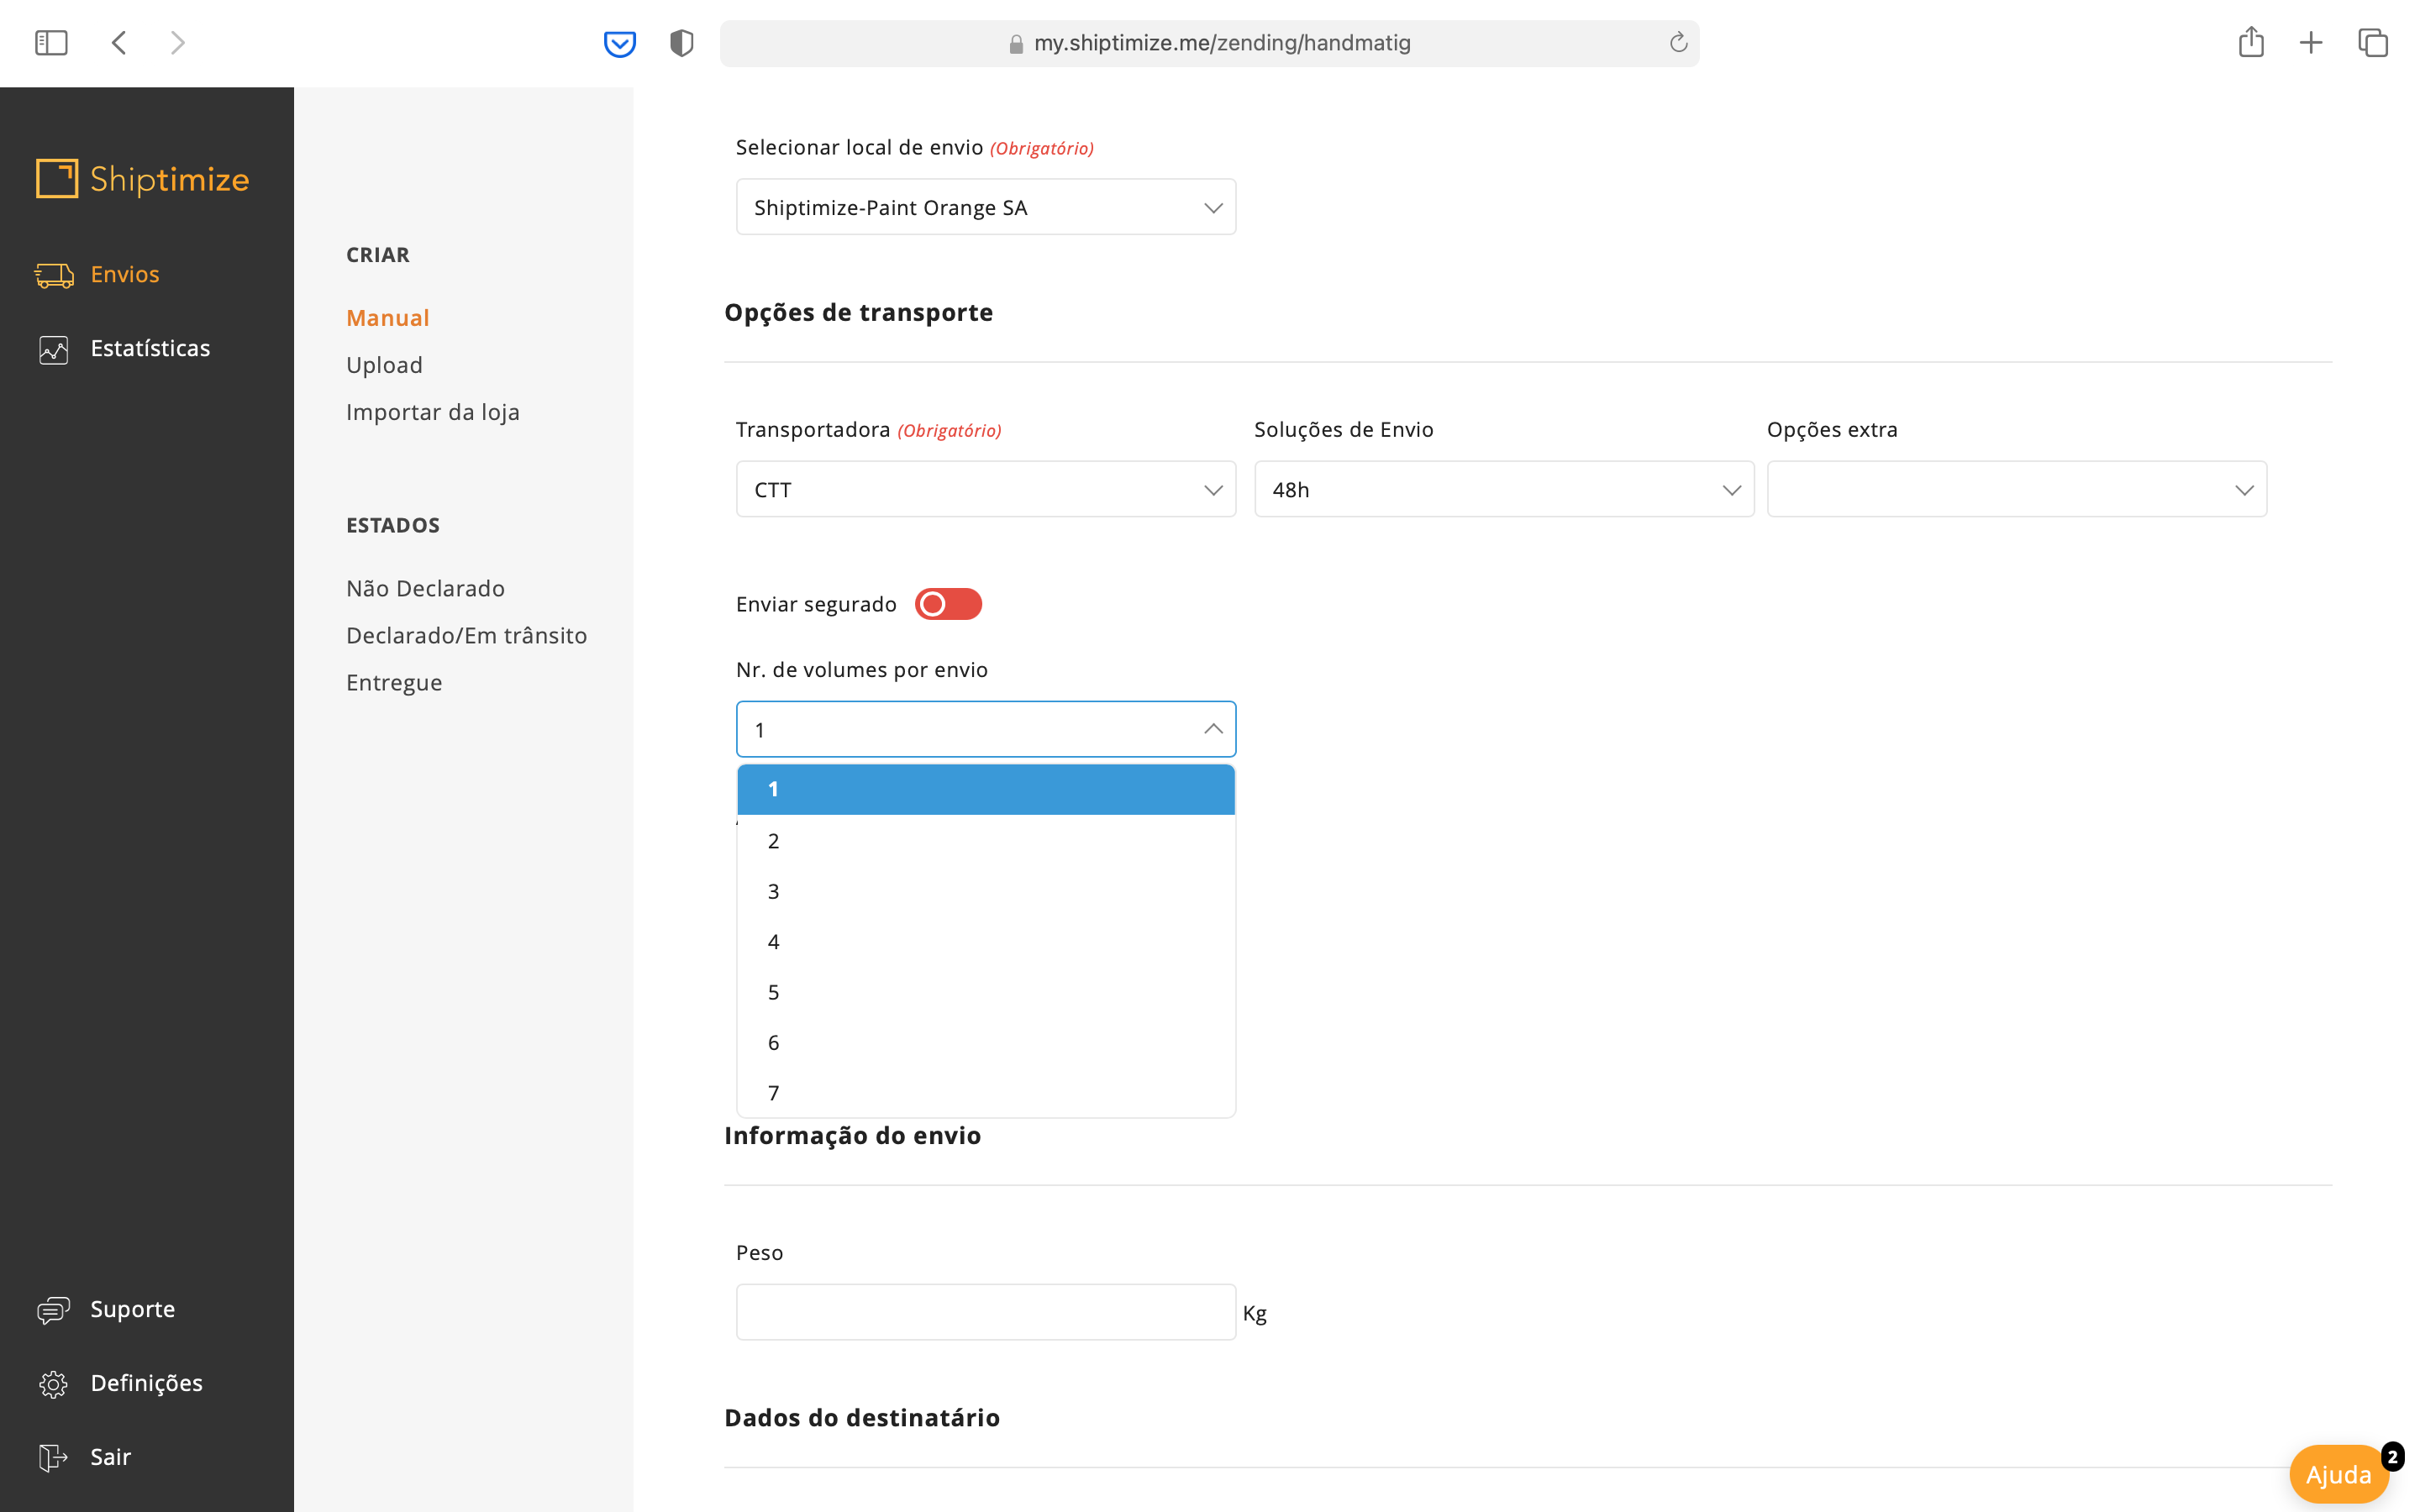
Extra Options
In a normal situation you don’t need to select any extra options to create your shipment. The extra options as the name indicates are extra attributes that you can give to your shipment or it can be to change the pick-up address of your shipment.
To select the desired extra options you should choose from those present in the Extra options menu or from those that are visible when you choose the carrier. In this example we have chosen the extra insurance extra option.
There are two types of extra options:
- Allow you to change the shipping orientation like collect and return and collect and send
- Extra attributes provided by the carrier to enhance the shipping experience (extra insurance, time window, fragile service, etc.)
Number of shipping volumes
In the next step you must select the number of packages containing your shipment by selecting the desired number from the Nr. of Volumes per Shipment menu. Please note that each package must have its own shipping label with a unique tracking code.
Pick-up request
The next step is to select the pick-up request. If you wish the shipment to be collected by the carrier, select the option Activate pick-up request.
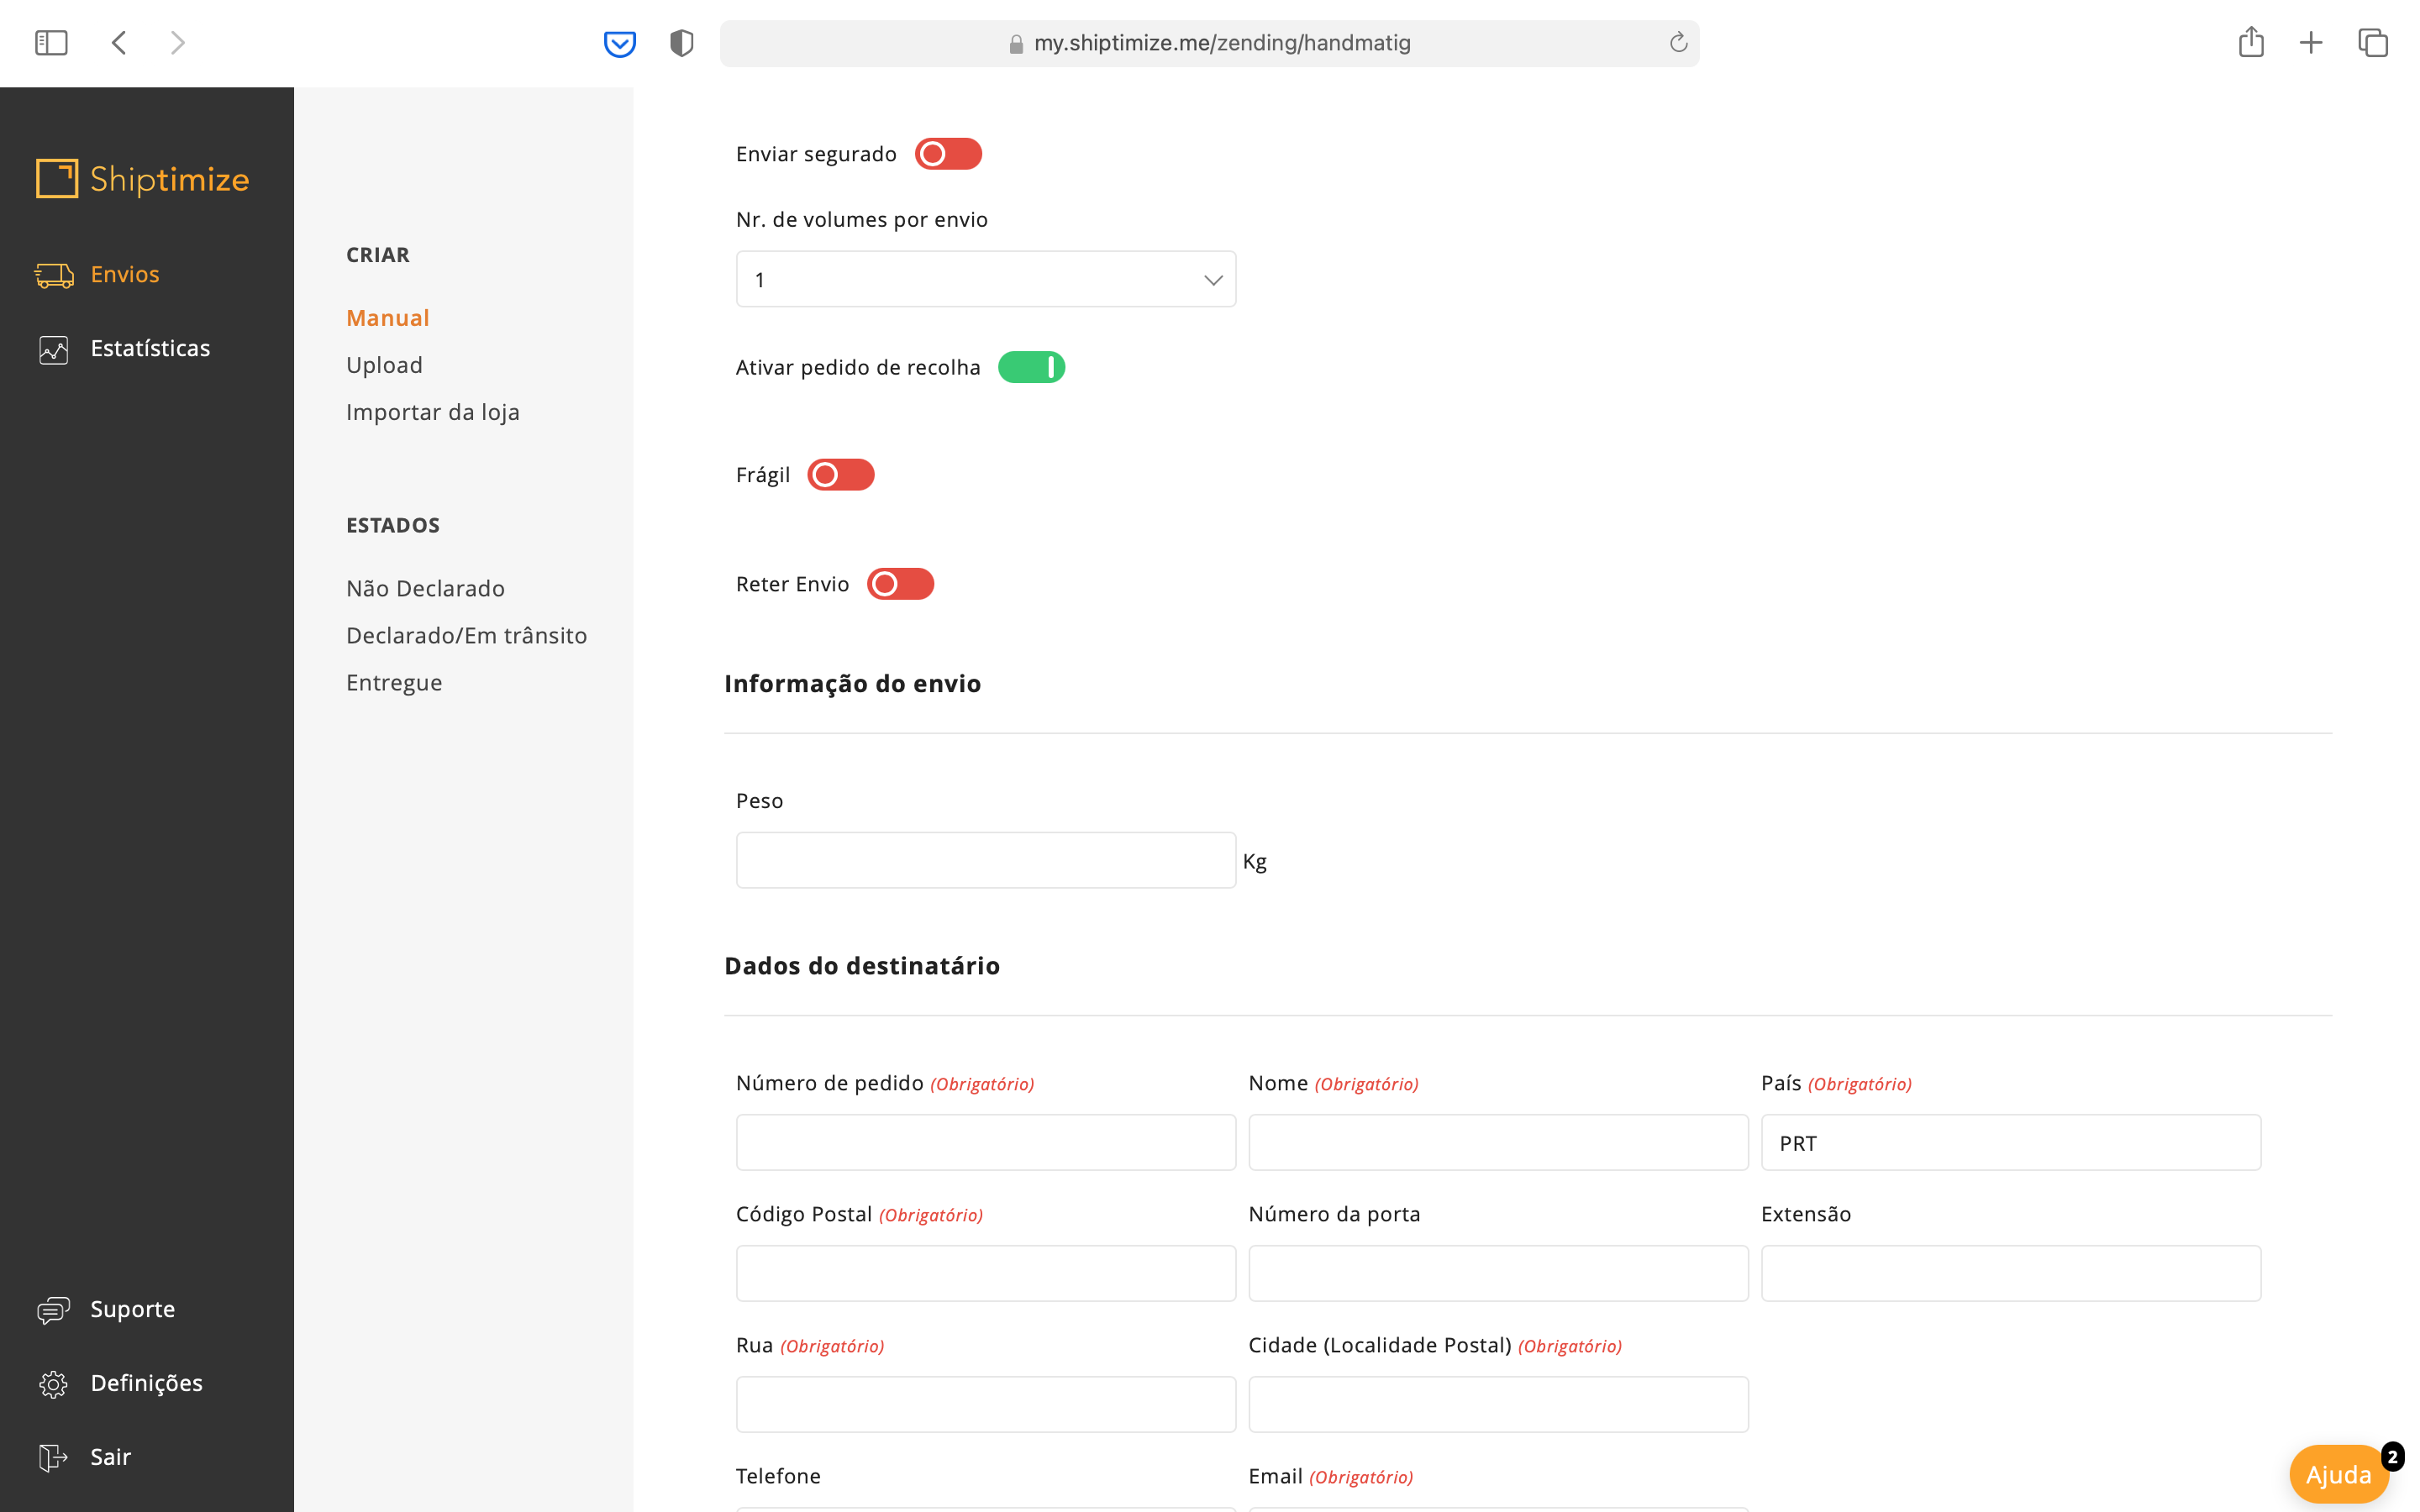
Shipping information
In the next section Shipping Information, depending on the carrier selected you may only be asked for the weight of the item or also its dimensions.
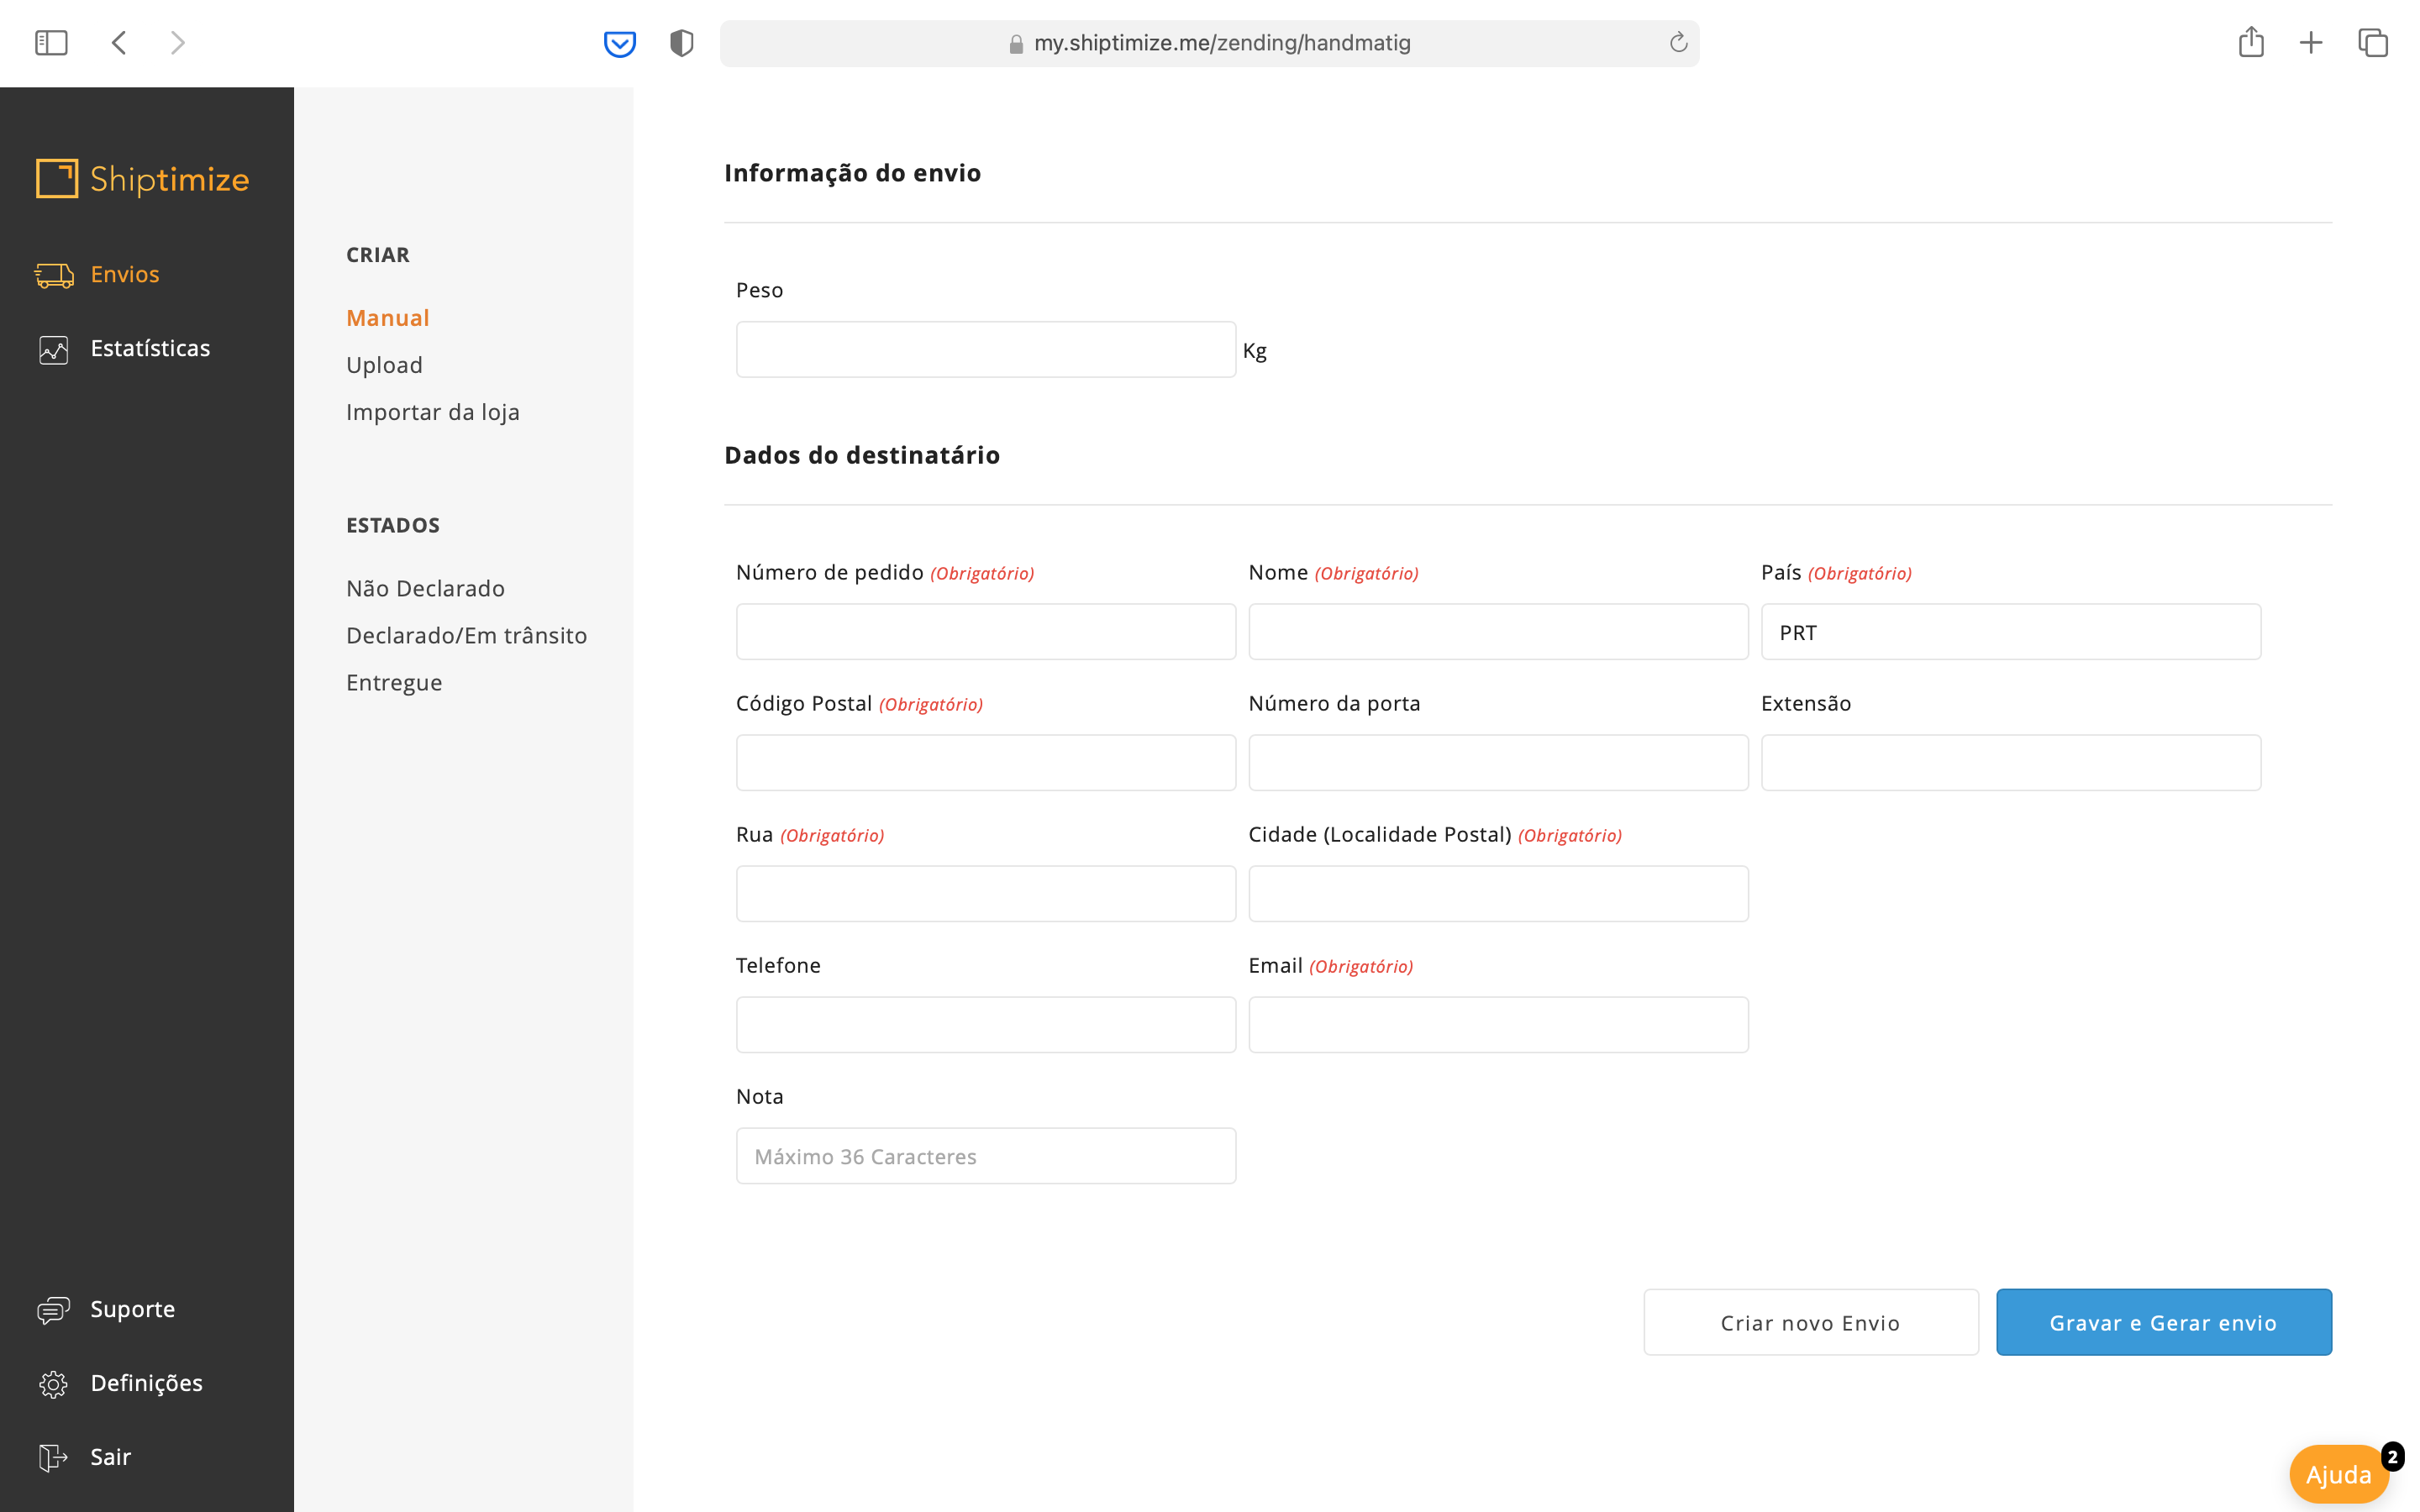
Recipient’s details
Finally you should fill in the recipient’s details:
Order Number
This is a unique number for each shipment. It may correspond to the invoice number or another number of your choice. It is an alphanumeric field.
Name & Name 2
Corresponds to the recipient’s name. Name 2 must be used when the shipment is for a company and the shipment is sent to the care of a particular individual. In the other cases it must be left empty.
Country
Should be filled in with the ISO 3166-1 alpha-3 code of the destination country. Example: Portugal (PRT)
Postal code
Should be filled in with the postal code only in the correct format for each country.
Door Number and Extension
Normally these fields should be left blank in order to avoid distortion of the address due to local variances.
Street and Street 2
The street name, house number and any other attributes relevant to the delivery of the item should be completed. Where possible you should only use the Street field and leave the street 2 field empty
City
In this field you must place the name of the postal location. In case you need to include another name due to the postal location being too wide, you must use the field street 2. This field must correspond to the postal code indicated before.
Province
This field is only available for certain carriers and must be used when the country has an organization by states or provinces as for example the USA. It must be filled in with the ISO 3166-1 alpha-2 code of the state.
Telephone Number
You must indicate the recipient’s phone number in the appropriate format
Email
In this field include the recipient’s email in the appropriate format.
Create new / Save and Generate Shipment
After filling in all the information you can click on create new shipment if you want to create more shipments or on Save and Generate shipment if you want to proceed to the declaration of the shipment with the printing of the shipping label and the collection appointment.