Ecwid quick guide
Installation
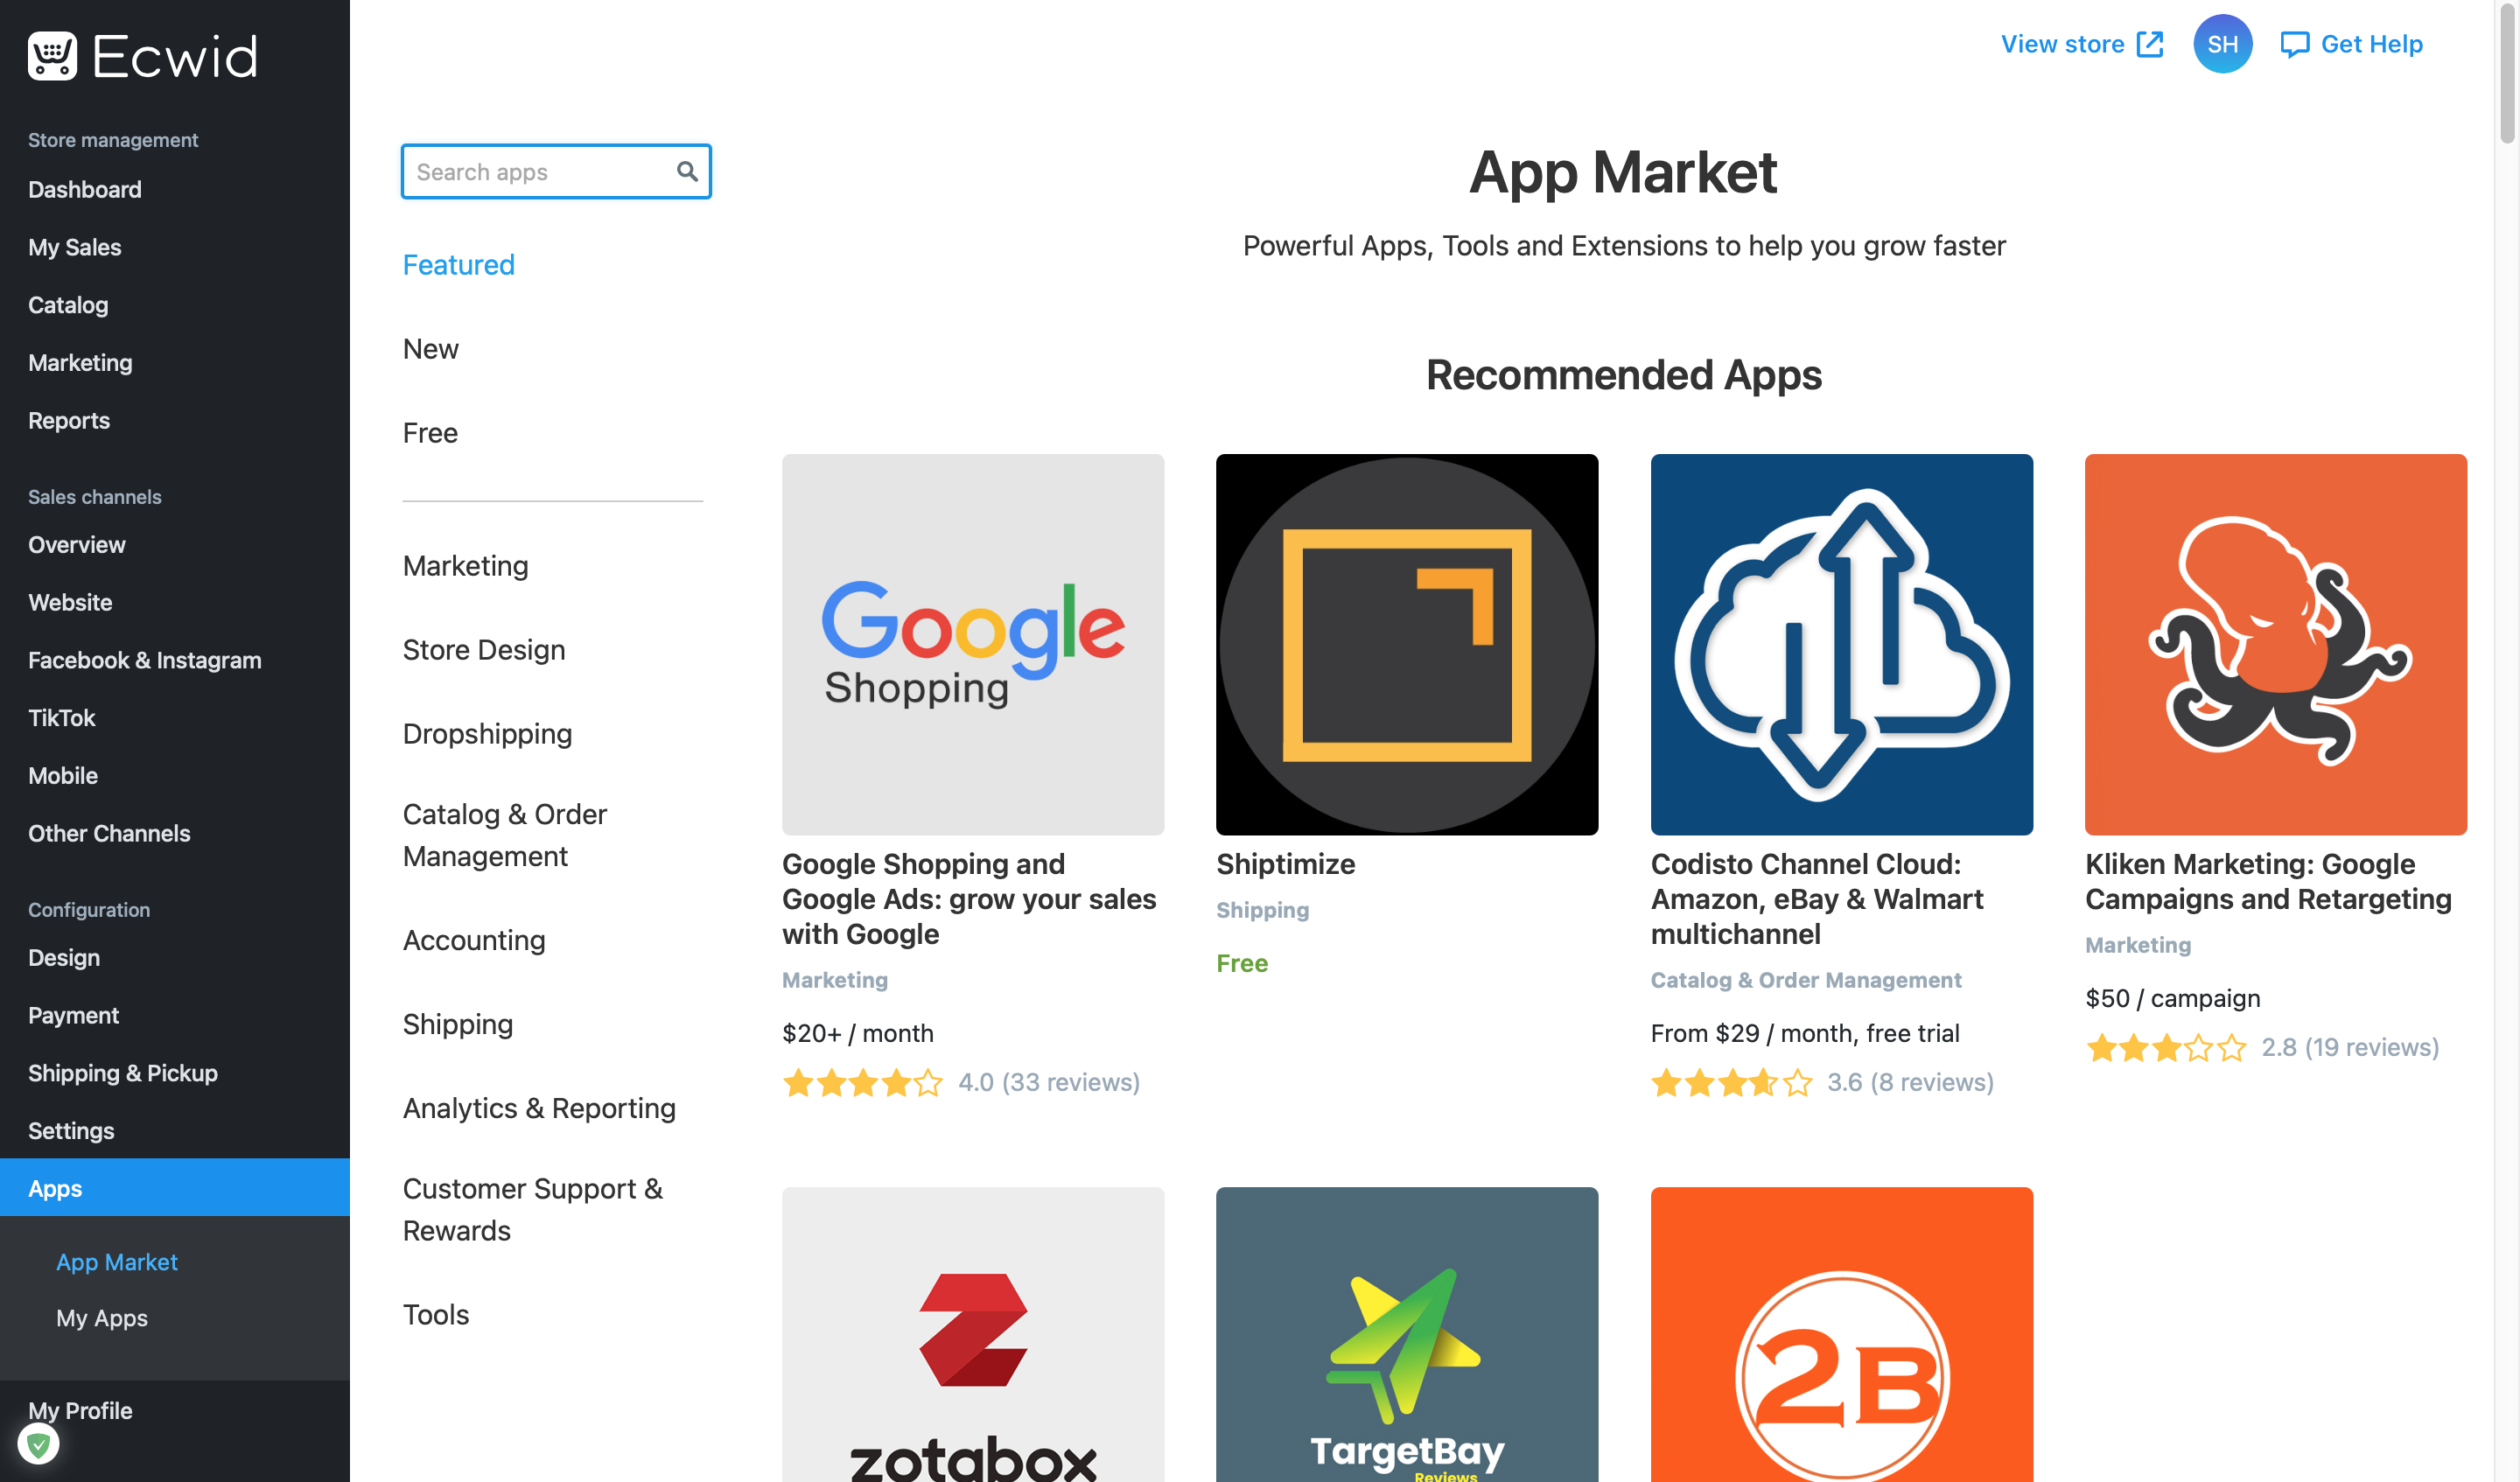
- Go to the “Apps” section
- Search for “Shiptimize”
- Click on “Install”
- Accept the permissions requested by the plugin
Configuration
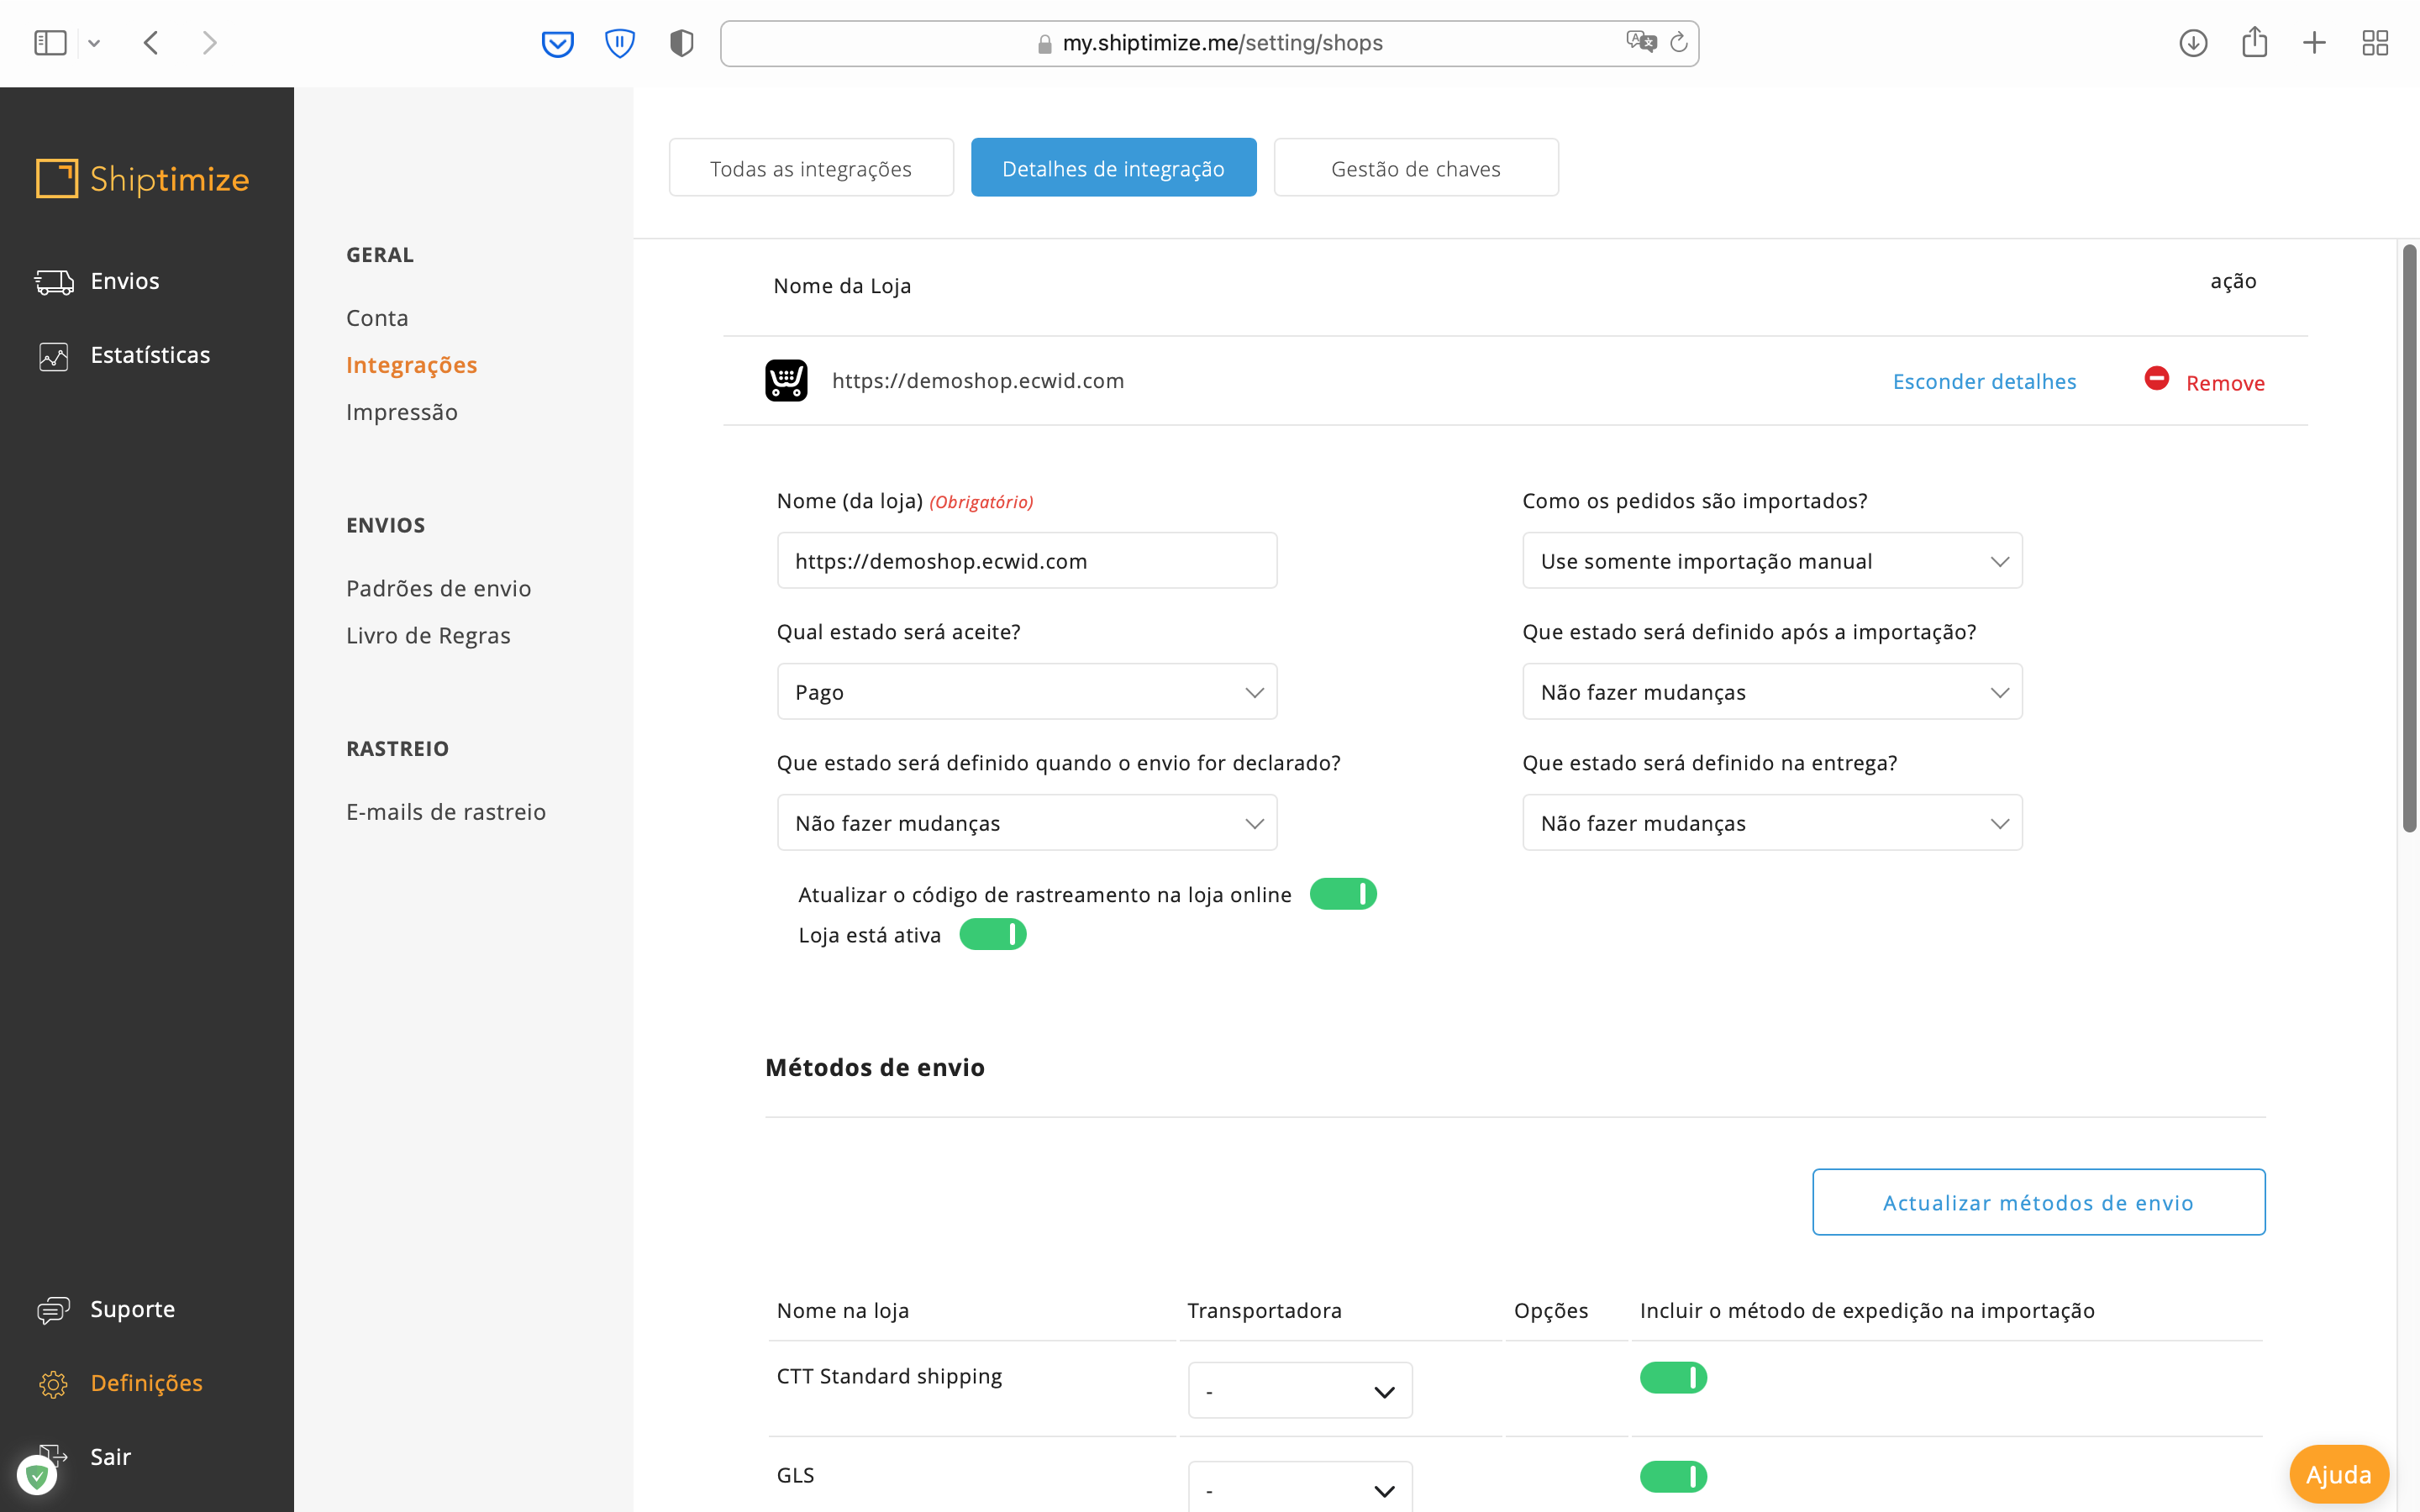
To access the plugin configuration and set the corresponding states for each step, you should open the Shiptimize page in a new tab of your browser and click on: Settings > Integrations > Integration Details. Here you can also define whether you want delivery points to be shown to the customer at checkout or not for each shipping method configured in your store.
Carrier Configuration
Note: If you have not yet configured your shipping rates in Ecwid, please refer to the following guide on how to configure them. After you have finished setting up your Ecwid shop click “Update shipping methods” under Settings > Integrations > Integration details > Add delivery points
To assign a carrier, shipping method and/or extra options to each shipping method present in the Ecwid store, please access the Rulebook in Settings > Rulebook. For more information on creating shipping rules, see the following link: https://support.shiptimize.me/knowledgebase/what-is-the-rule-book/
Shipping methods created in Ecwid are saved in the Shiptimize app when you install the Ecwid plugin. If you add more methods in Ecwid and want to assign a carrier these new methods, click “Update Shipping Methods”.
If any of your carriers provide real-time rates, these will be made available to your customers at checkout. If you want to disable Shiptimize’s real-time rates, you should go to “Shipping & Pickup” in Ecwid and disable Shiptimize.
Note: This option is not yet available for Portugal.
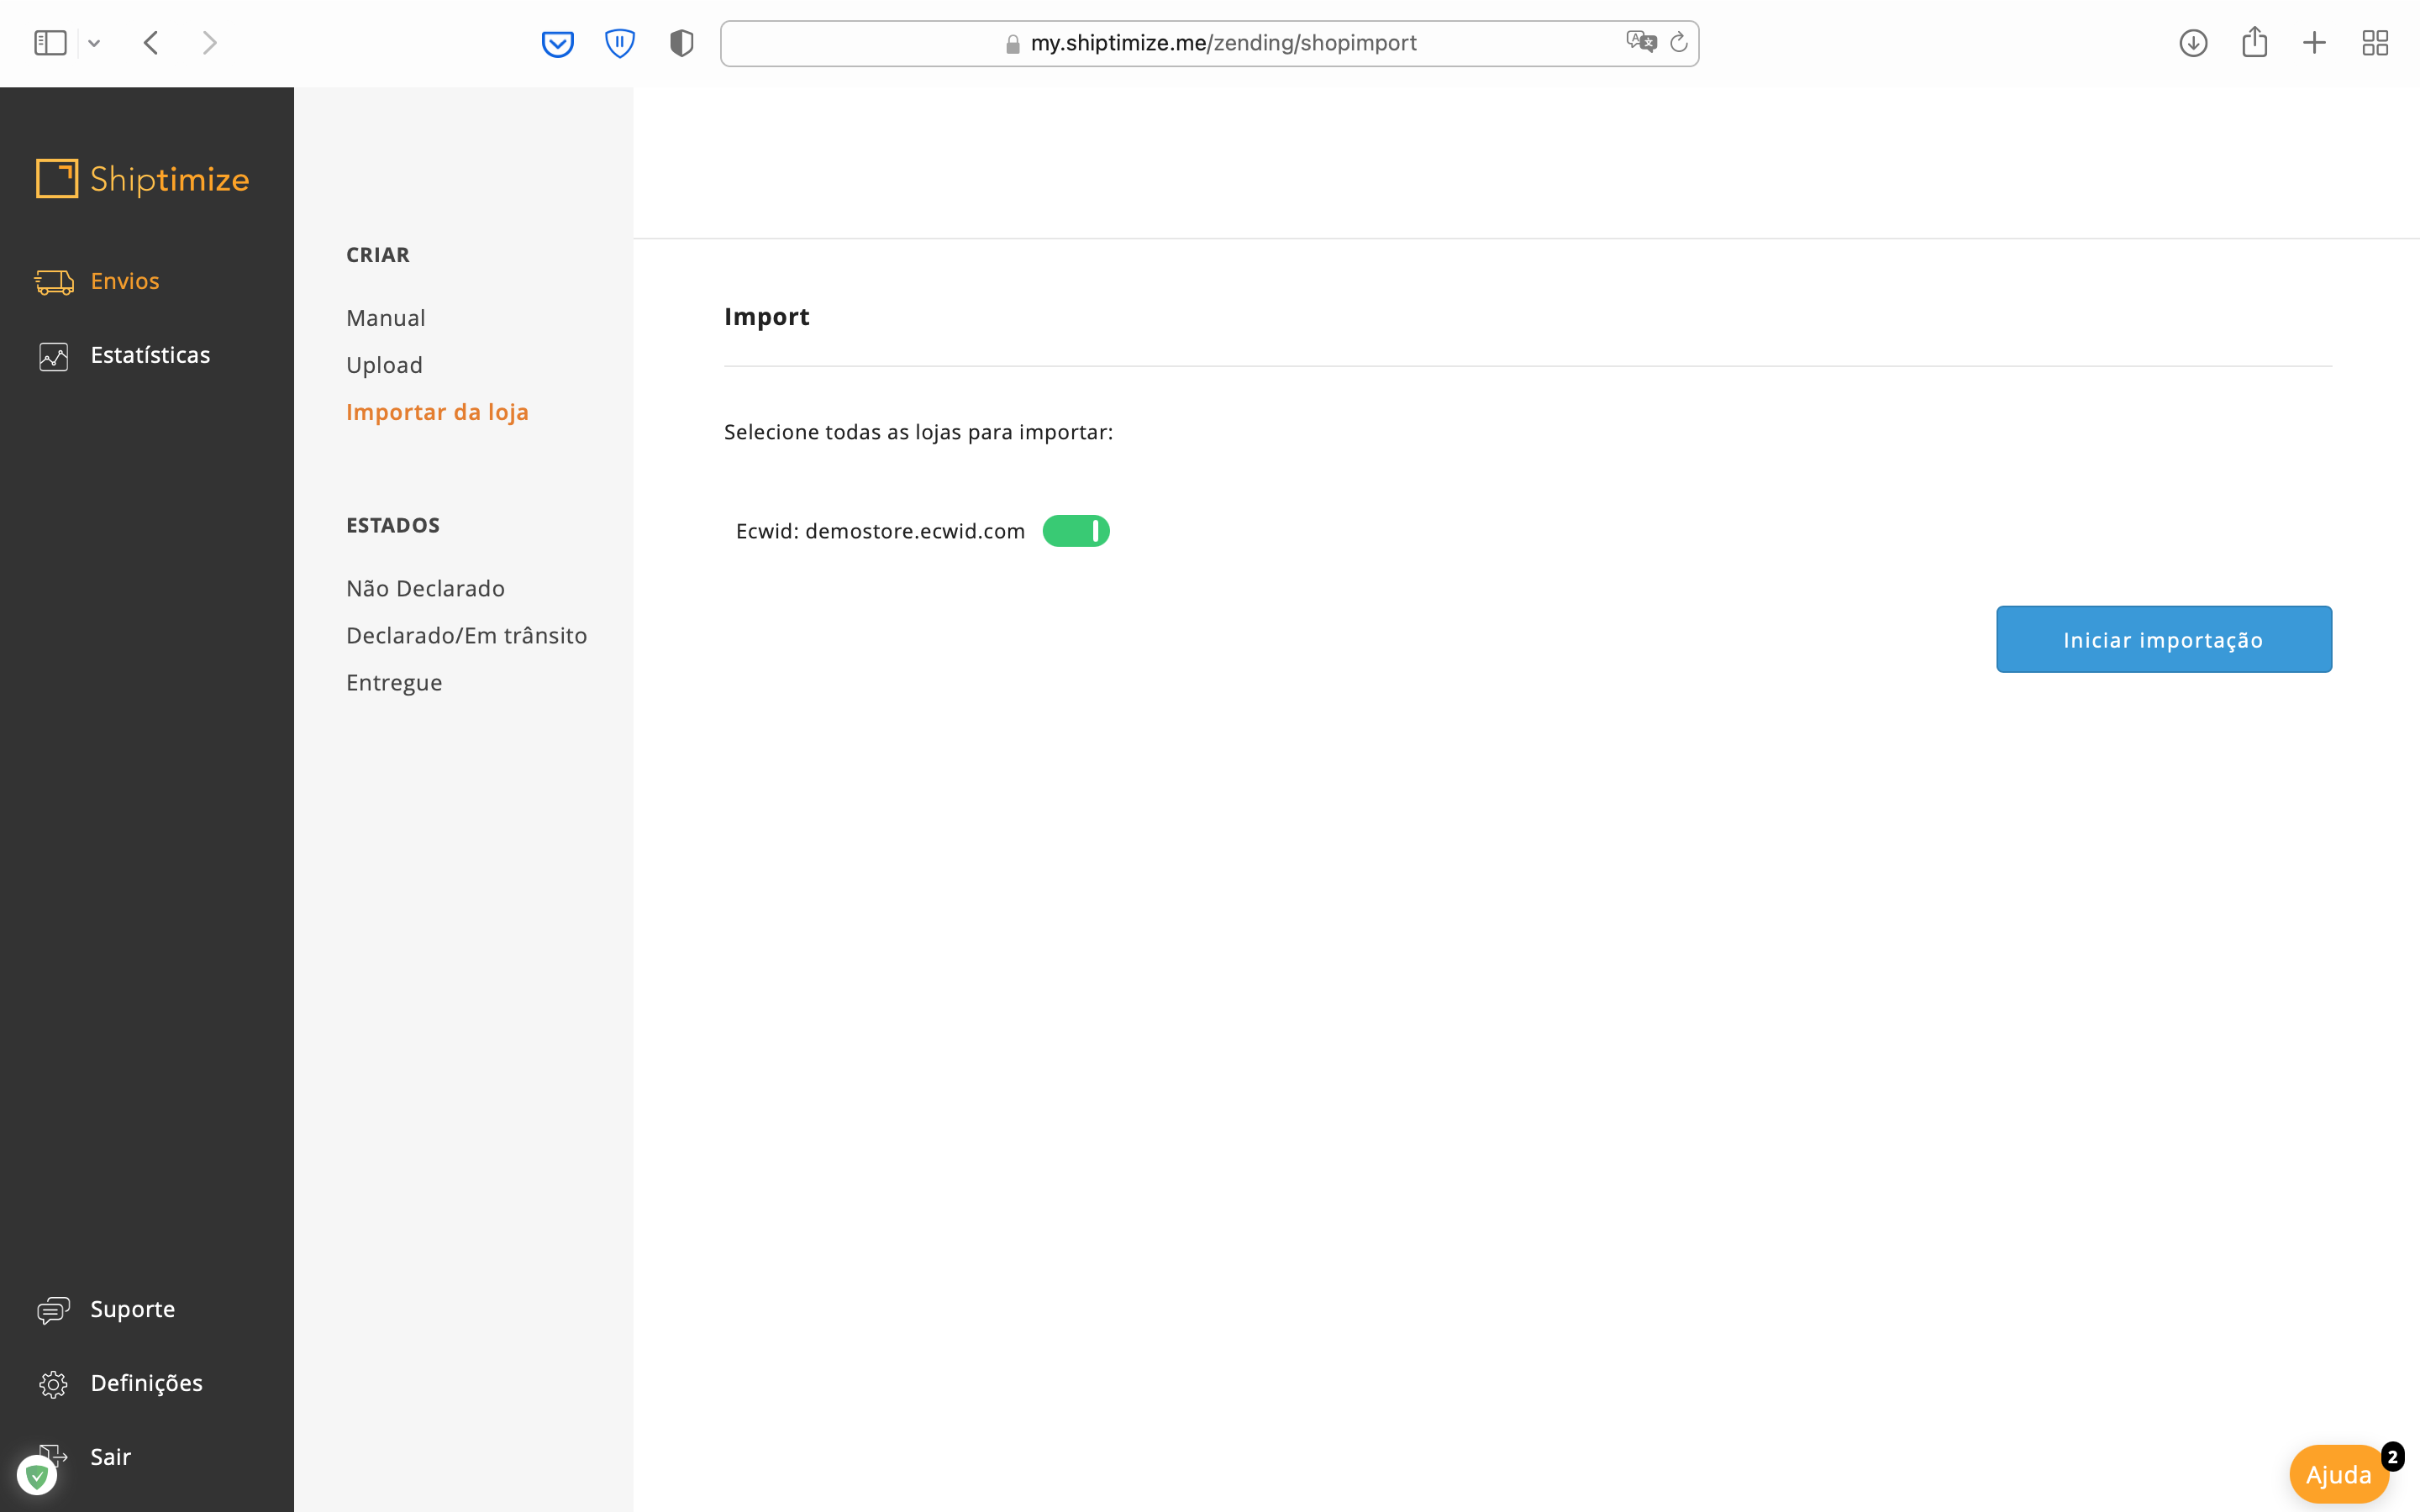
Manual order import
You can choose to import only paid orders by selecting “Paid” under “What status will be accepted?” in the shop settings under Settings > Integrations > Integration Details
To import orders into the Shiptimize app, go to Shipments> Import from shop and click Start import.
Automatic import
It is possible to configure the plugin to import orders automatically. Under “how orders are imported”, choose one of the following options:
- When the order is created – Imports orders if their status matches what you choose in “what status will be accepted”.
- When the order status changes – Imports orders whose status has changed if their status matches the one you chose in “what status will be accepted”.
Automatic updates between Shiptimize and Ecwid
If you enable “Update tracking code in shop” in the shop settings, when creating a Label, the Shiptimize app sends the tracking ID to Ecwid along with the shipment status “In transit”.
You can configure additional automatic status updates for:
- Imported order
- Order delivered
- Failed shipment
Checkout for customers including delivery points
If your contract with Shiptimize has carriers that support pickup locations, you can allow your customers to choose pickup locations at Checkout.
To enable this feature, you must assign the carrier corresponding to the shipping method you wish to provide pickup locations to by selecting “Show pickup locations” and saving the changes.
Real-time Rates
If your contract with Shiptimize has carriers that provide real-time rates, these will automatically be sent to your shop checkout when available for each order.
You should ensure that the dimensions and weight of your product are set correctly to improve the accuracy of the rate calculation. Here you can find a guide on how to set these rates.
When your customers choose a Shiptimize rate at checkout, the appropriate carrier will be set when importing the order from Ecwid to Shiptimize.