Magento quick guide
Installation
- Unzip the downloaded file into a folder on your hard drive.
- Upload the contents of the Magento folder to the root folder of your Magento site via FTP

Configuration
Once the Shiptimize plugin is activated, the plugin settings will be available via Settings > Configuration > Shipping settings > Shiptimize
You should get your keys from the Shiptimize application under Settings > Integrations > Key management if you already have an associated account and copy and paste the public key and the private key.
After copying the public and private key to Magento. Click “Save configuration”.
If the keys entered are valid, the sending methods will be created and can be configured in “System” > “Configuration” > “Shipping methods”.
- Enabled – Enable/Disable the shipping method
- Title – The name that appears at checkout to your customers
- Default Price – How much you want to charge your customers by default for this method.
- Rates – If you want to set different prices for some countries you can upload a csv file as described below.
- Type – Choose if you want to charge “per order” or “per item
- Calculate Handling Fee – Choose whether the handling fee should be “flat” or as a “percentage” of the Price
- Handling Fee – An additional fee
- Ship to applicable countries – Choose “specific countries” if you want to make this method available only in certain countries
- Ship to specific countries – Choose the countries where this method can be used to ship.
Rates
Table rates allow users to set options for specific countries or offer multiple service levels. All location fields are meant to be an exact match only we do not support ranges. These are: country, region, postalcode
Note: If required multiple options for a rate should be comma separated. ex: 19h, servicepoint
With table rates, pickup points are only show if the servicepoint option is set for that rate.
Example:
| Country |
Region |
PostalCode |
Min Price |
Min Weight |
Min Items |
Carrier |
Options |
Cost |
Display Name |
| NL |
* |
* |
0.000 |
0.000 |
0 |
56 |
|
10.0000 |
TABLE RATES |
| NL |
* |
* |
0.000 |
30.000 |
0 |
56 |
|
20.0000 |
TABLE RATES |
| NL |
* |
* |
200.0000 |
0.0000 |
0 |
56 |
|
0.0000 |
TABLE RATES – FREE SHIPPING |
| NL |
* |
* |
200.0000 |
30.0000 |
0 |
56 |
|
0.0000 |
TABLE RATES – FREE SHIPPING |
| NL |
* |
* |
0.0000 |
0.0000 |
0 |
56 |
19h,ServicePoint |
4.5000 |
TABLE RATES SERVICE POINT |
| NL |
* |
* |
0.0000 |
30.0000 |
0 |
56 |
19h,ServicePoint |
4.5000 |
TABLE RATES SERVICE POINT |
| NL |
* |
* |
200.0000 |
0.0000 |
0 |
56 |
19h,ServicePoint |
0.0000 |
TABLE RATES – FREE SHIPPING SERVICE POINT |
| NL |
* |
* |
200.0000 |
30.0000 |
0 |
56 |
19h,ServicePoint |
0.0000 |
TABLE RATES – FREE SHIPPING SERVICE POINT |
In this example we have 2 weight classes and 2 price classes. Shop wants to offer different prices for shipments under 30kg and free shipping over 200€.
In Magento when the option ServicePoint is present, selecting a service point is mandatory, so you need to add a new line for each combination of (weight, price, min_items) that you also wish to offer service points.
If you notice there are 2 lines with min price 200, that is because we need to explicitly say we want to offer free shipping for shipments over 30kg, if you do not specify this, any shipment over 30 kg will match lines 3 and 7 only.
Pick-up points
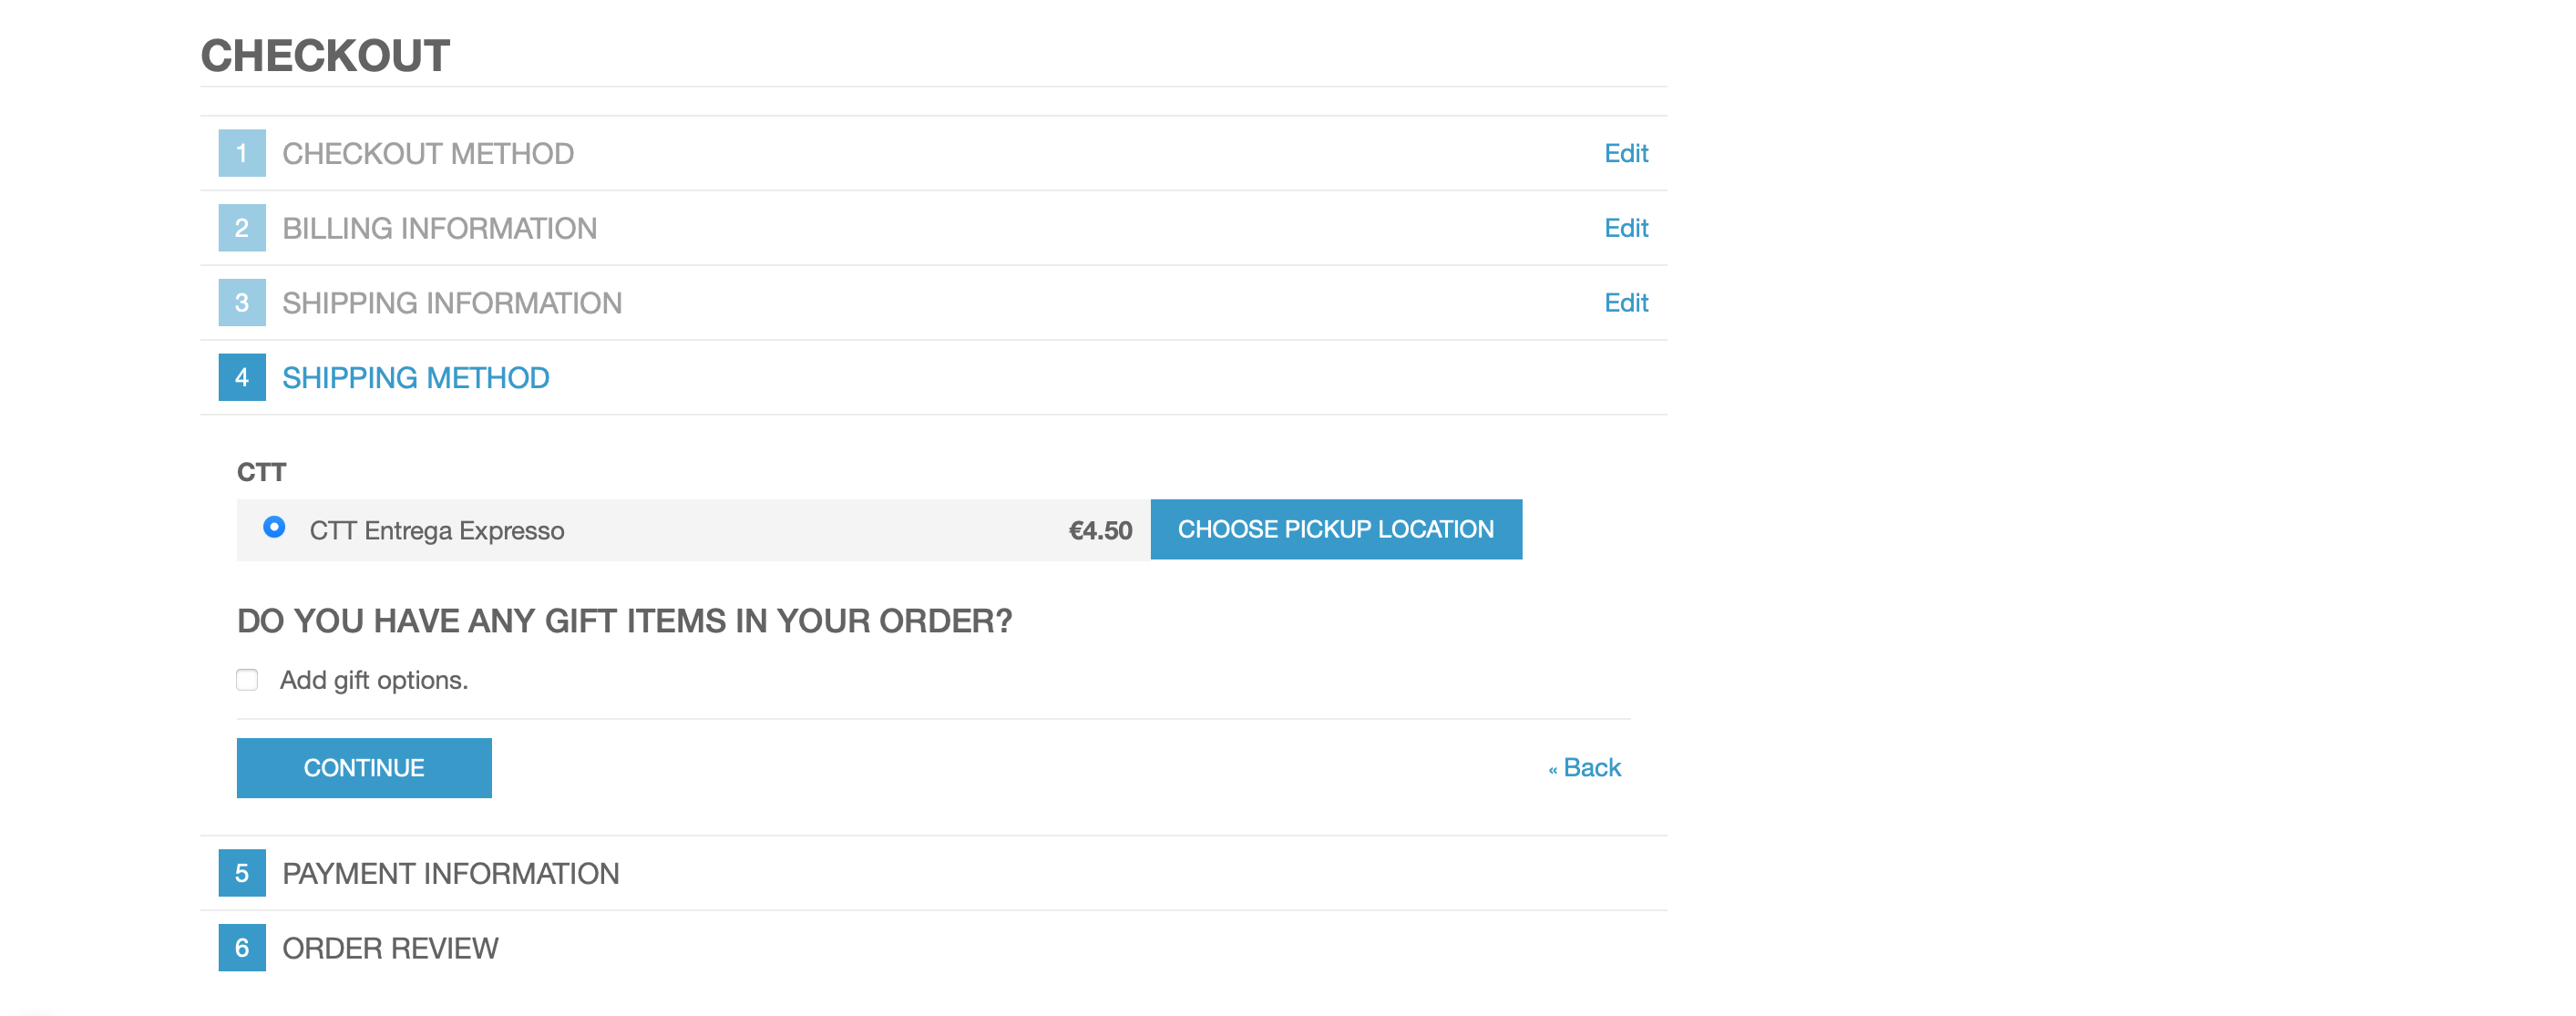
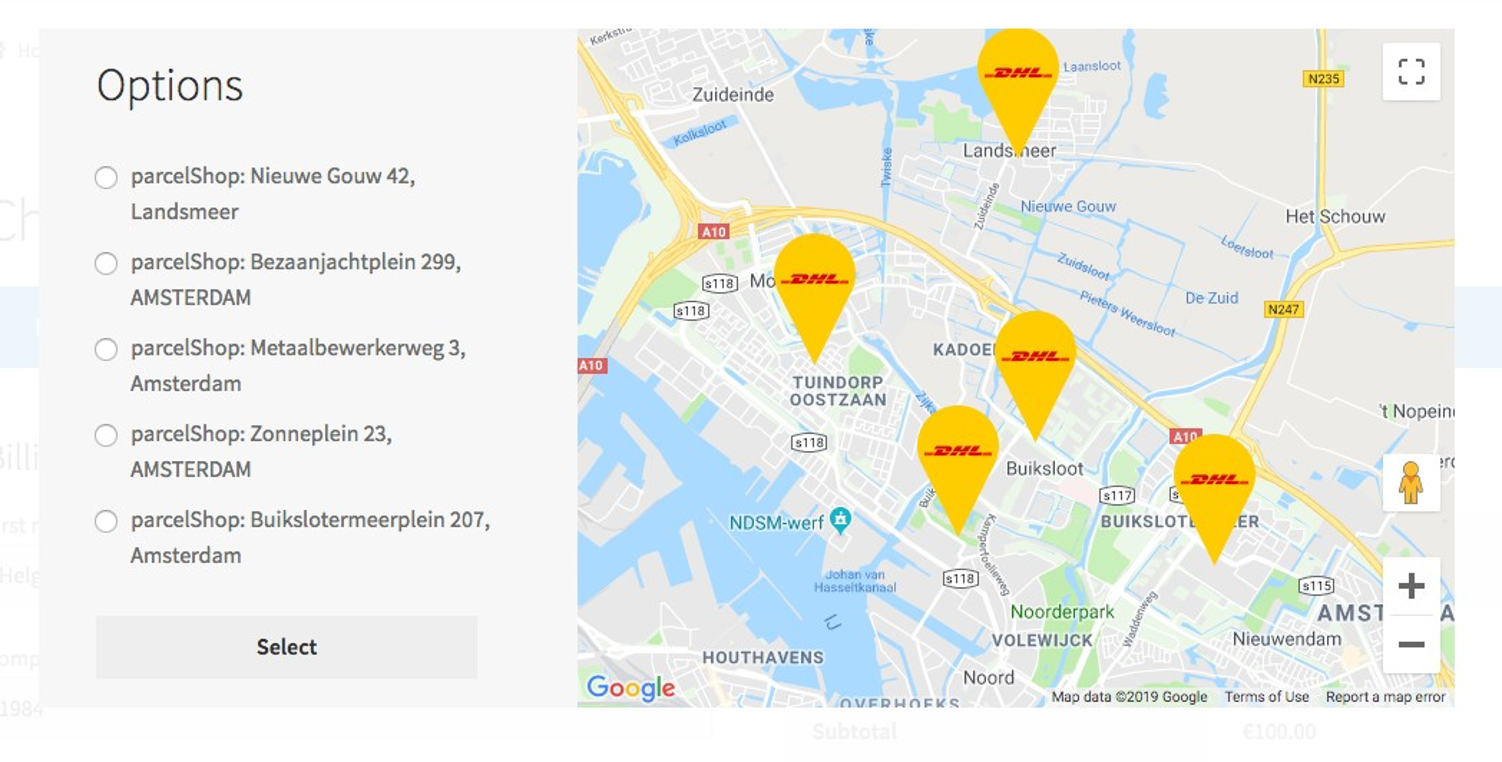
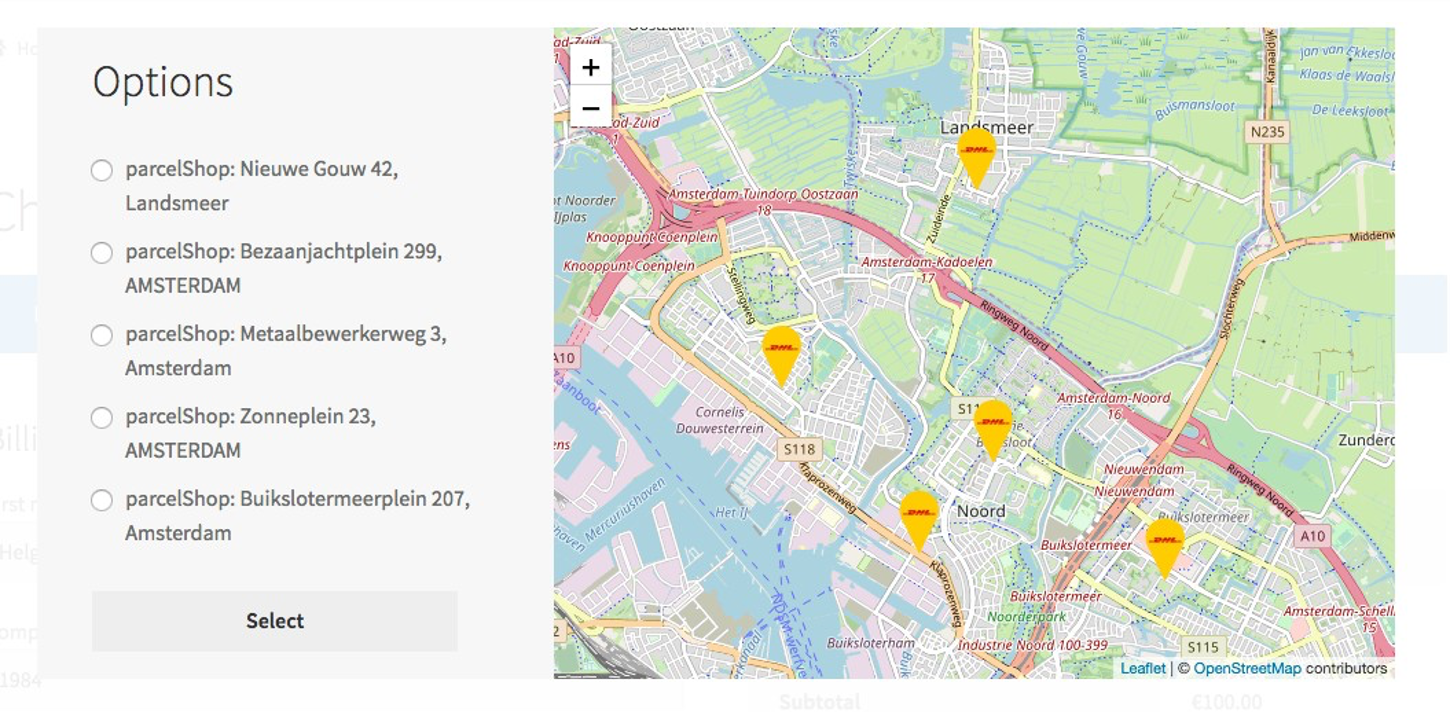
If the carrier provides a “Pickup Service”, we will attach a button to the box that allows the user to select their preferred location.
If you supply a google maps key, we will show you a google map
If a google maps key is not set, we will display an OpenStreetMap
Exporting
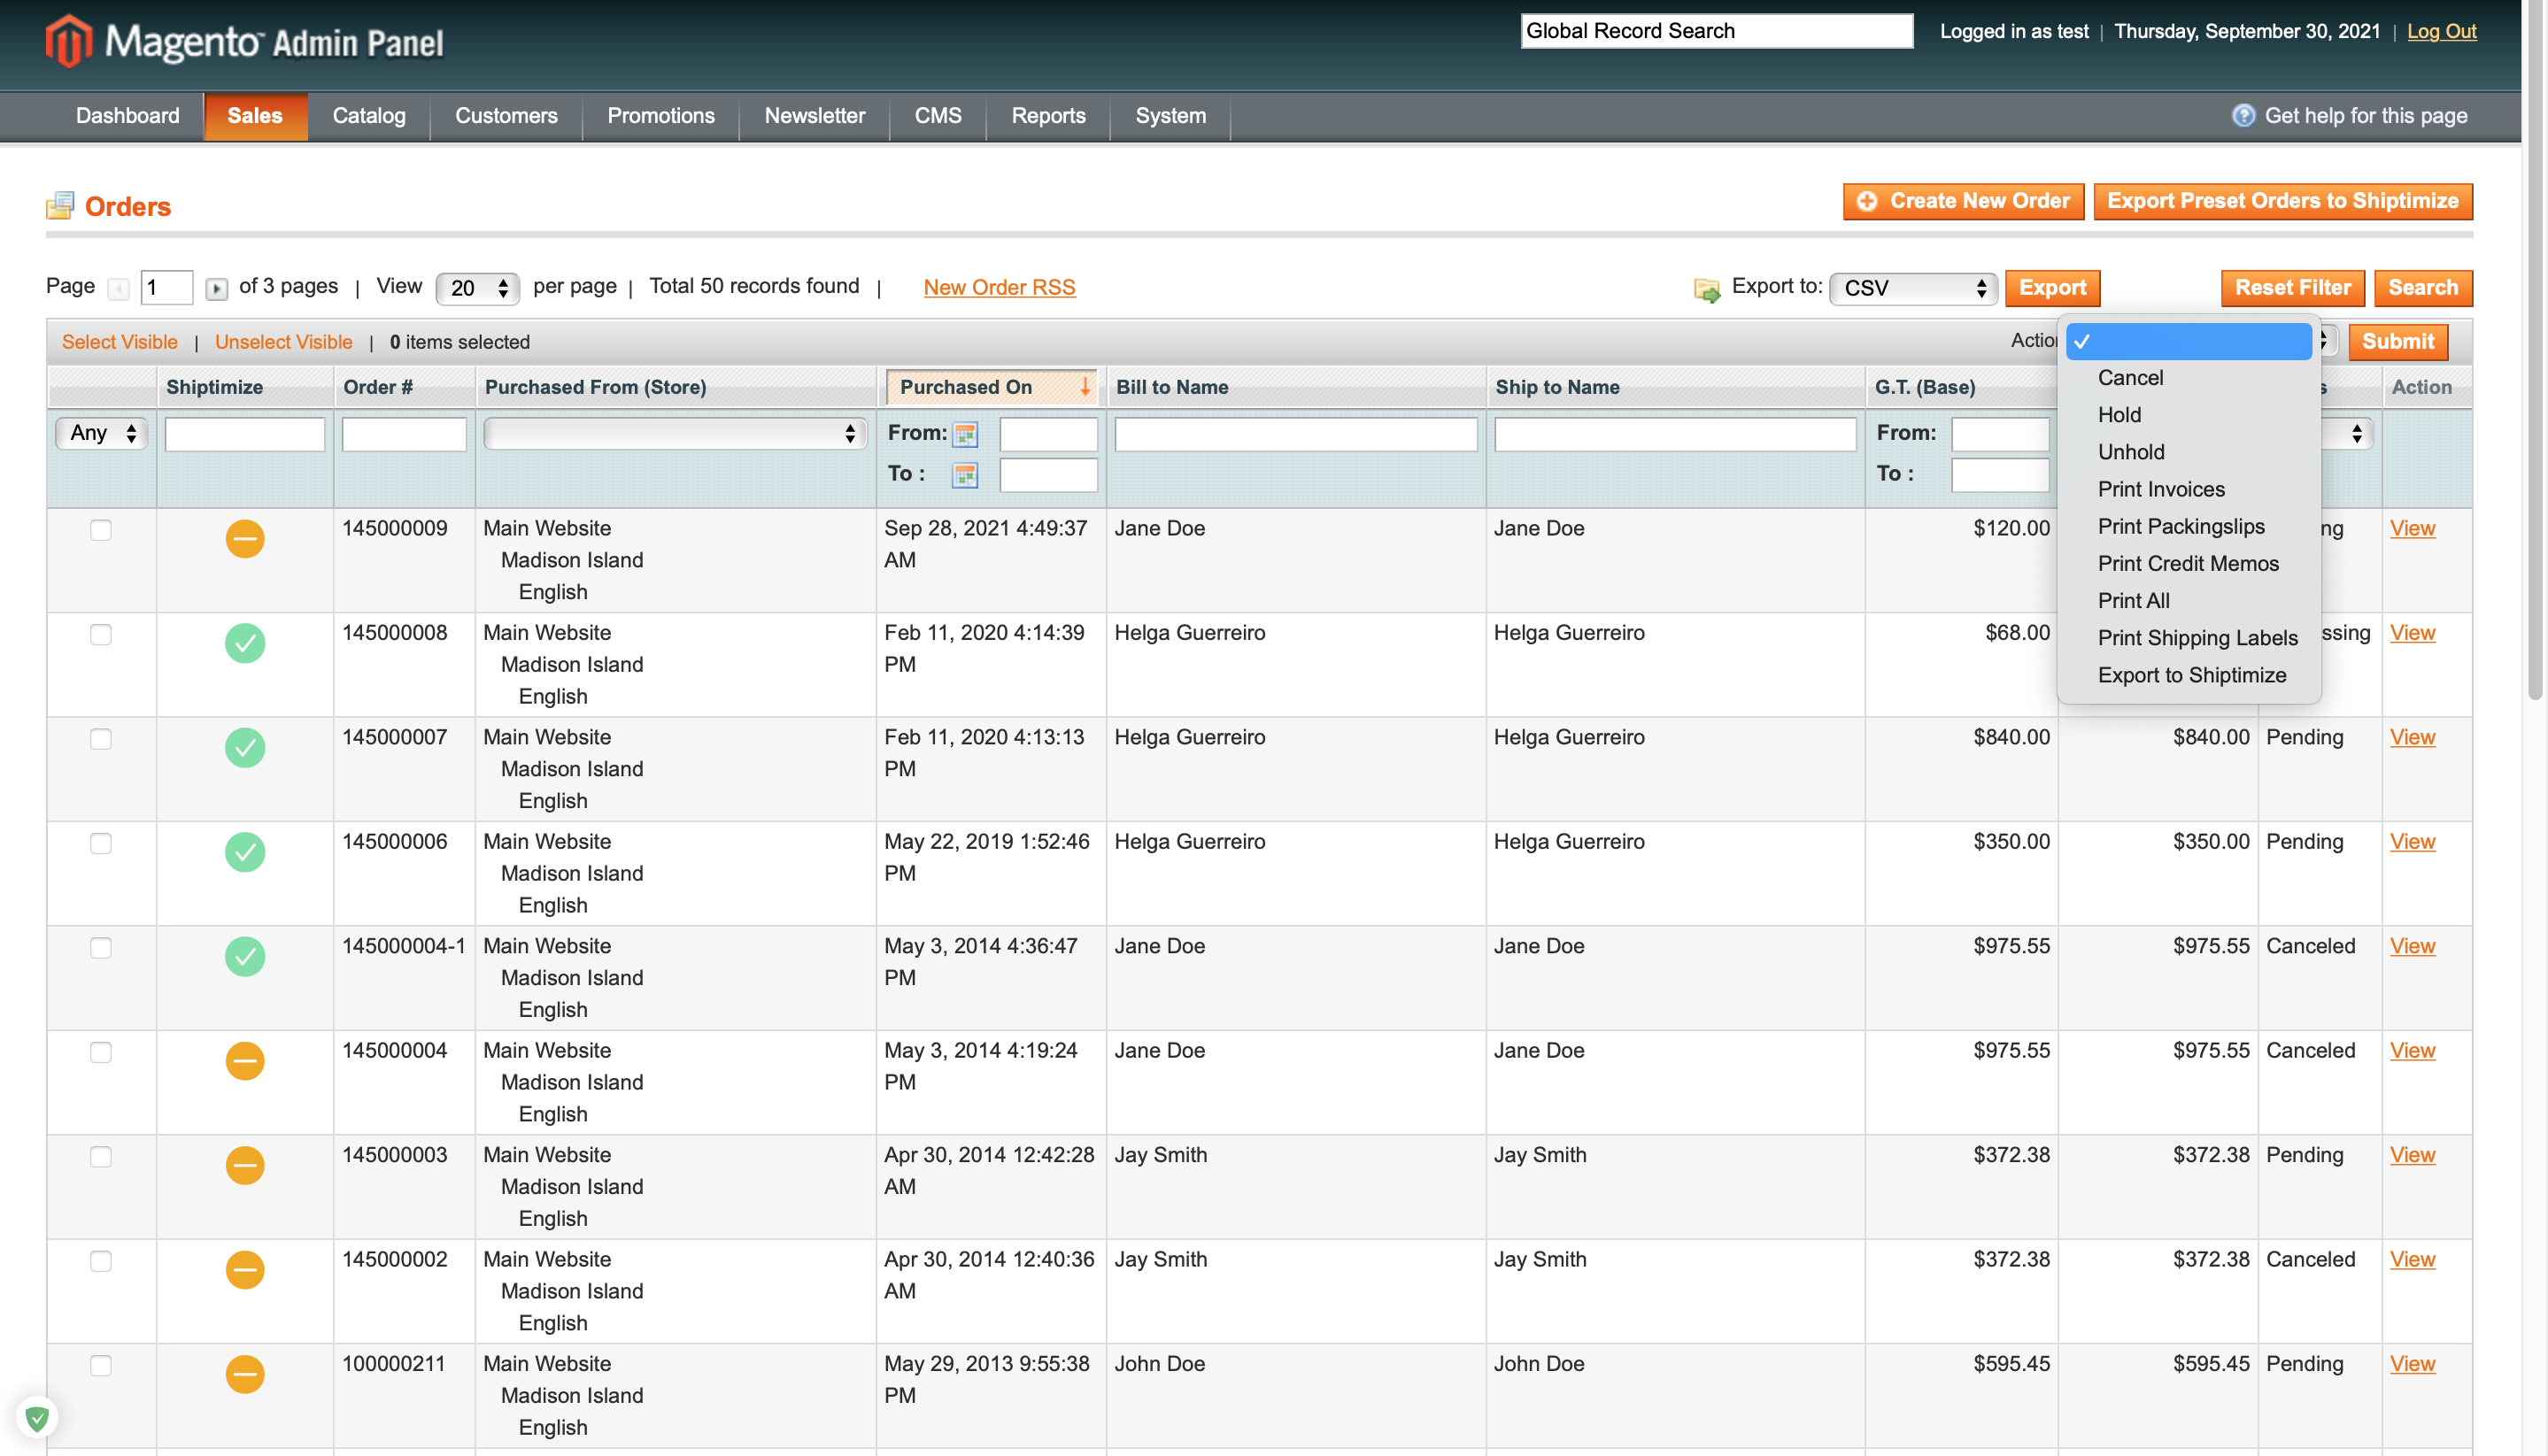
There are 2 export options:
Export predefined orders – Will export only orders that have not been exported before and have one of the states configured in “Export all” in the configuration.
Export selected orders – Will send any selected order to the application, regardless of its status. This allows orders to be re-exported if you delete them in the application. If you try to re-export an order that is already in the application, the application will reject it.
Carriers update in the plugin
If at any time you want to add more carriers to your contract. Ask your contact in Shiptimize or through Support to let you know when they are active in the app.
Then go to configuration and save the settings. Every time you do this, the plugin will ask the app what information is there and update the plugin cache.
Automatic Updates
When a tracking ID is available, it will be attached to the order. You can also configure automatic status updates when specific events occur.
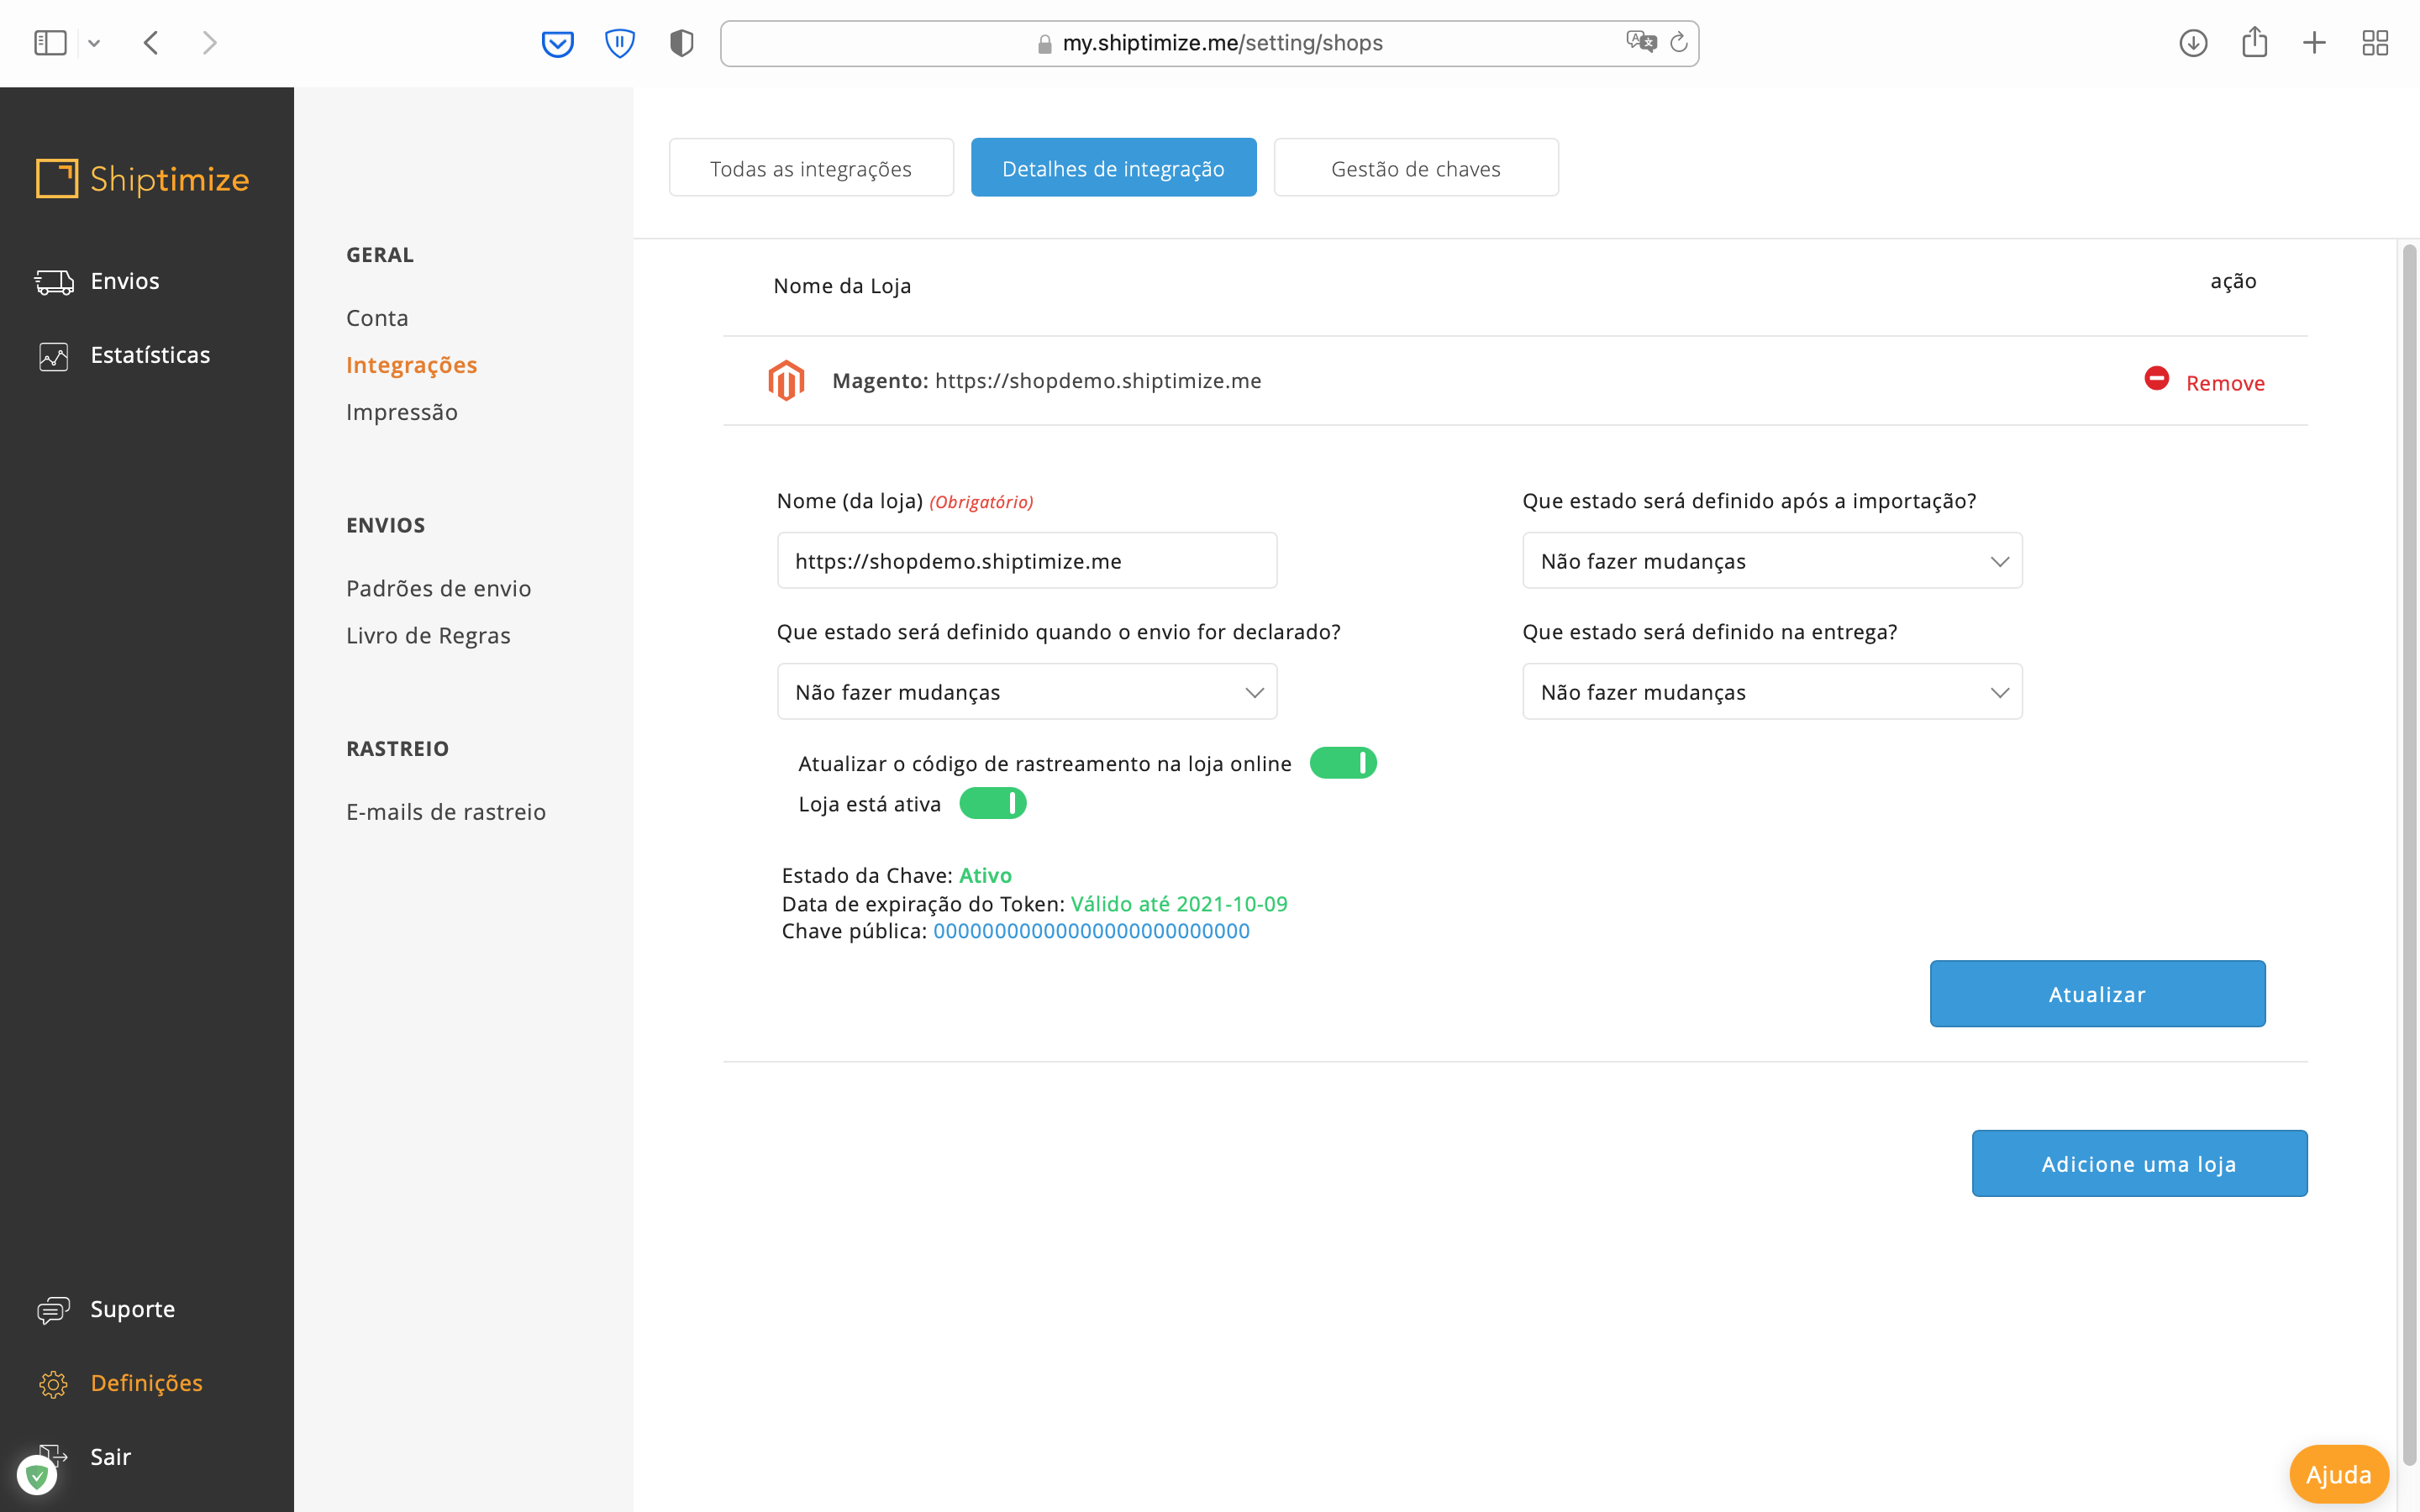
In the Shiptimize application, you should go to: “Settings > Integrations > Integration Details”.
You can set a specific status for:
- After importation
- After the carrier accepts
- After delivery
